Asiga 3D printers will attempt to squeeze out resin to the desired layer thickness. If the sensors measure increased resistance, it will display the approach failed error message. This method protects the printer and it’s components and prevents most tray punctures.
Approach failed is usually the result of five possible issues:
Debris in the build tray or on the surface of the build platform.
Calibration screw is not sufficiently tight.
Build platform is incorrectly calibrated.
Vibration sources.
Trapped volume or Suction cup.
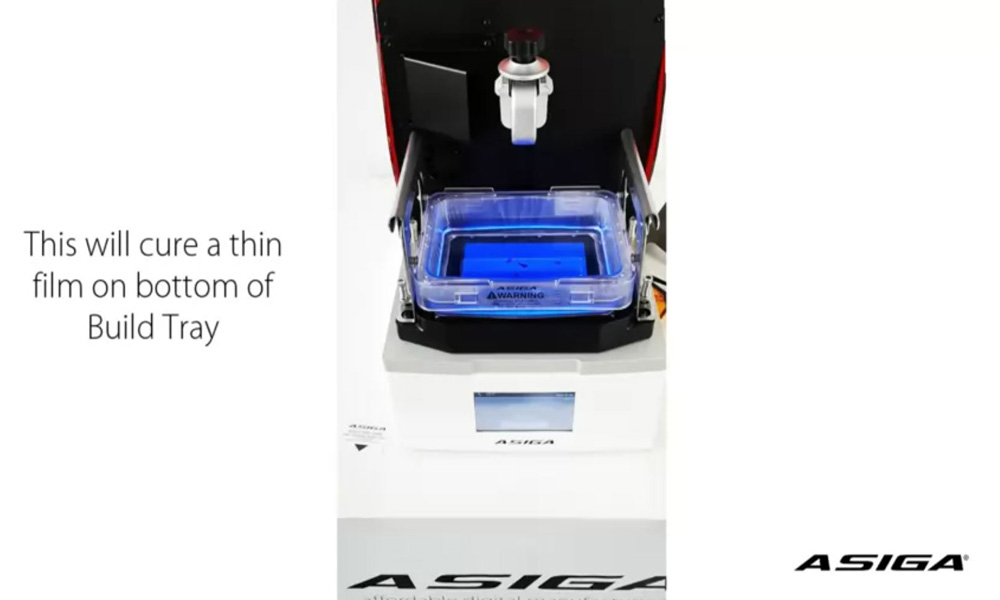
1. Debris in the build tray or on the surface of the build platform
Debris can restrict the build platform from reaching it’s destination. This debris can be caused by parts detaching during printing and floating around. The best way to avoid any debris in the build tray is by performing a build tray clean.
Play Video
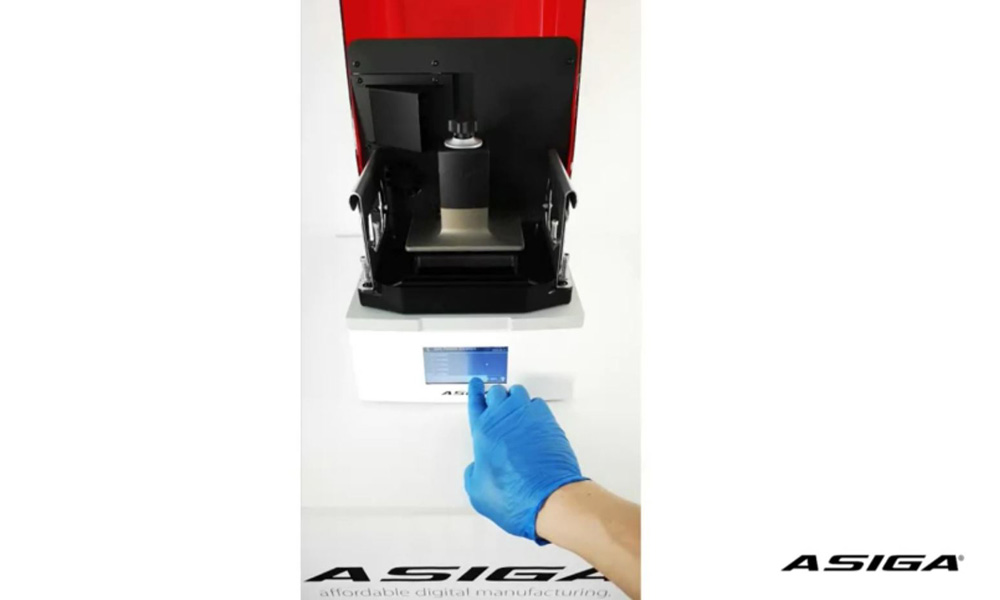
2. Calibration screw is not sufficiently tight
The build platform is subject to a lot of forces during the printing process. If the platform is not sufficiently tight & can move during printing, it will cause obstructions.
Ensure the calibration screw and the knob are both tight before starting a print.
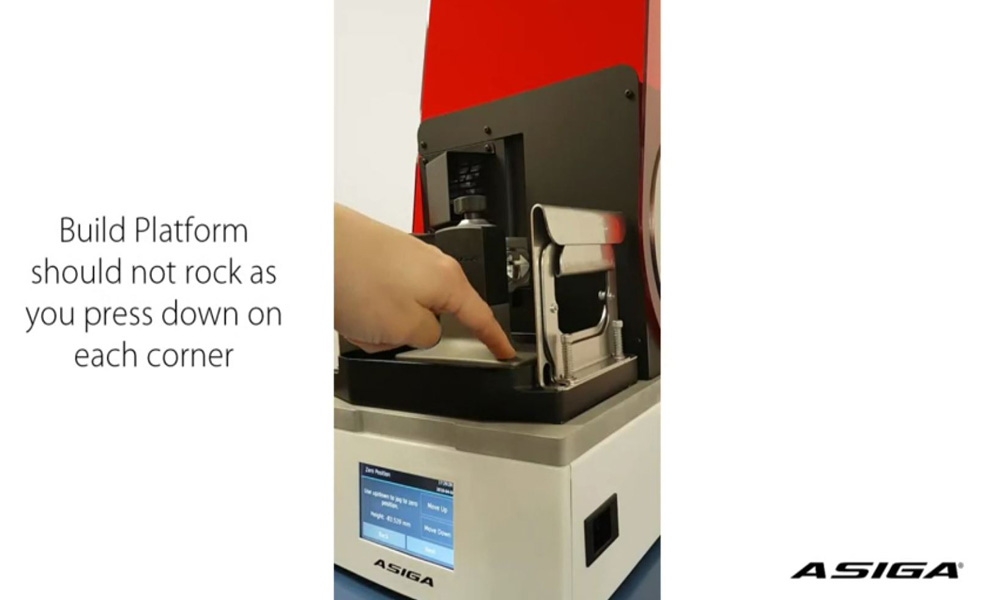
If the build platform is not completely flat against the glass, it will cause an obstruction. This means that one side of the platform touches the glass first. Please check the platform calibration by following the video below.
Play Video
If the build platform validation fails – please perform the build platform calibration sequence again.
Play Video
4. Vibration Sources
Asiga 3D printers have sensors located inside the printer. These sensors are very sensitive and pick up the slightest vibrations and changes. Therefor it’s very important to not place the printer next to potential vibration devices.
Please see below for a list of known culprits.
Aircon units
Ultrasonic baths
Compressor
5. Trapped volume or suction cup
Some part geometries can cause trapped volume. Trapped volume are cavities inside the model that trap air and resin. This can lead to multiple consequences like visible lines on the model or higher printing times.
See below for common solutions.
Orientation of the model
Hollow models that are printed flat will cause trapped volume. Try rotating the model 90°.
Drain holes
Adding drain holes will allow the resin to flow freely. Try the cut & punch tool in your favourite CAD program.
Supports
Placing supports on models will avoid needing drain holes but still allow the resin to flow freely.
If you are still experiencing technical difficulties
please launch a support ticket via the button below.