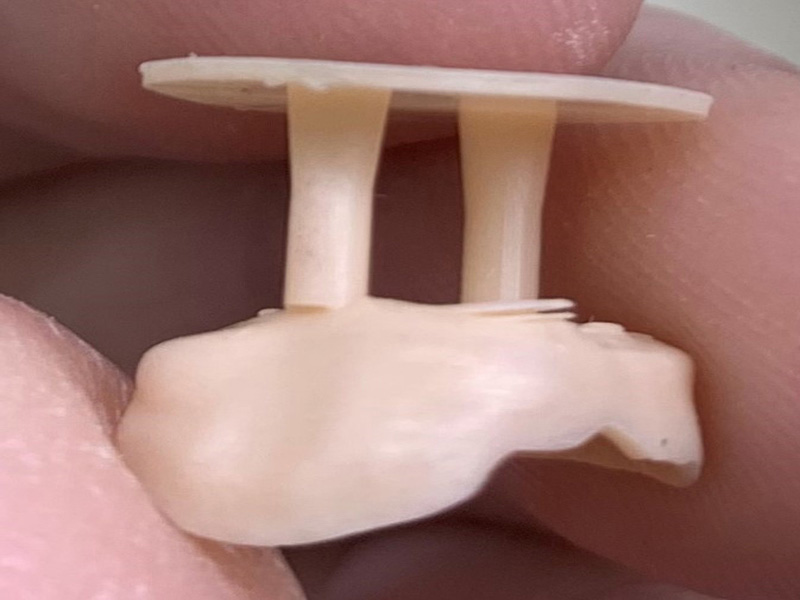
If parts of the model detach from the rest of the build, these parts will drop into the build tray. This will obstruct the build platform on it’s next cycle which can result in an <insert link to approach fail>
Below are a list of the top causes for model detachment:
Incorrect build platform calibration
Incorrect model setup
Insufficient supports
Critical areas not supported
Incorrect material file or outdated material file
Resin not stirred prior to starting print
Incorrect build platform calibration
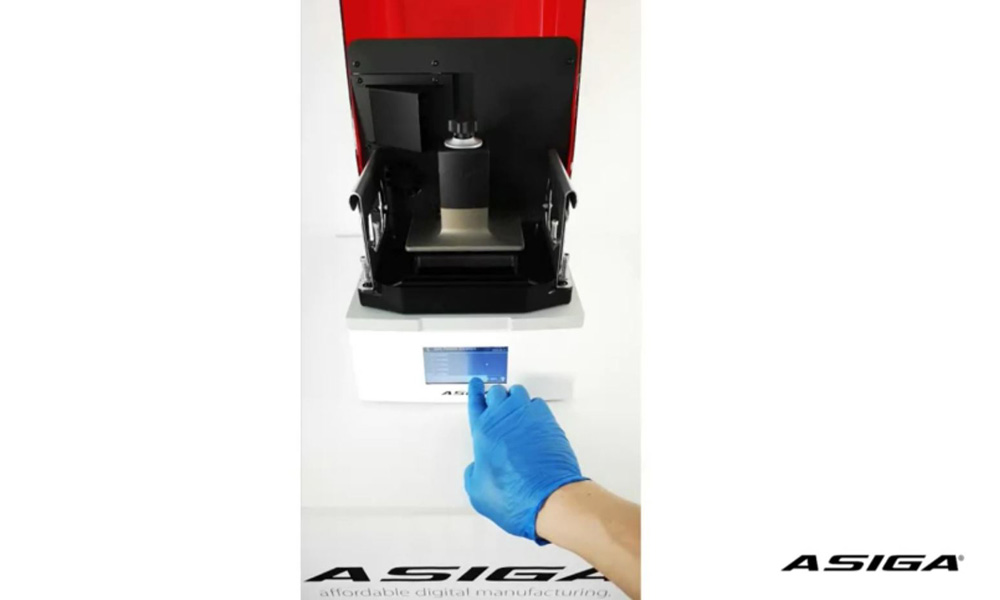
The build platform is an extremely important part for a succesful print. It’s crucial that it sits 100% perpendicular with the basin glass surface to ensure maximum adhesion of the model. If the build platform is not entirely flat, one side will touch the glass first causing an approach fail and/or detachment.
Validate the build platform calibration – if it fails, please recalibrate the build platform.
Play Video
Incorrect model setup
This is a common mistake & easily avoided by following the below steps.
Ensure ‘Snap to Platform’ is toggled on This will automatically place your parts on the build platform.
The second way to ensure a model is sitting flush with the platform is by using ‘rotate facet downards’ option in the transform panel.
Change value to 0 degrees
Click rotate facet icon
Click on the side you want facing the build platform.
The third and final option is using the clipping tool. If your model does not show up in red on the first layer, it is not sitting flush.
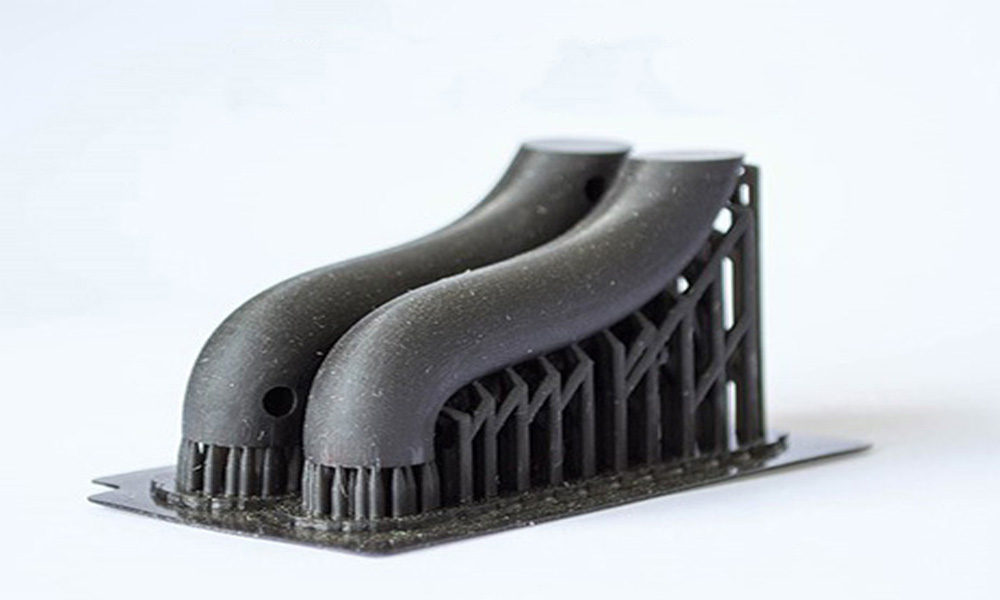
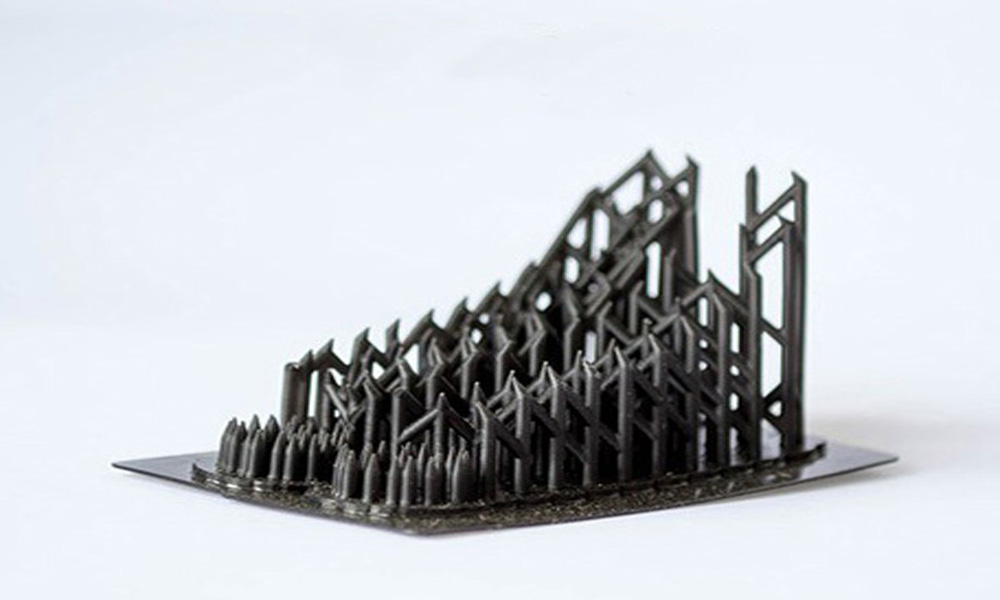
Insufficient supports & critical areas not supported
If your model does not have enough supports, it can cause delamination and/or detachments. <link>
Asiga is continuously releasing new firmware updates & optimising the support function. If you are unsure which areas of the model need to be supported, it is best to rely on the auto support function to ensure optimal printing.
For more information on supports, click here <insert link>
Incorrect material file or outdated material file is chosen
Material files are important.
They are the recipe for your MAX to follow when printing. The material files hold key instructions for your printer on how the material will react when exposed to the UV light.
It is extremely important to choose the correct material file before sending the build to the printer. Otherwise the printer will use the incorrect settings & the print will inevitably fail.
Our material library gets regularly updated, to find the latest material files please click here <link to material library>
Select the correct material in Composer
Resin not stirred before starting a new print
Resin will settle in the bottle/tray after a while. Pigment particles sink & cause uneven colour exposure or even detachments. Occasionally – with some resins – it can clump together causing uneven surfaces.
Asiga recommends to always shake a bottle of resin prior to pouring it into the build tray. if the resin is already in the tray, please use a business card or plastic spatula to thoroughly mix the resin.
Be careful not to use anything sharp inside the tray as this can cause punctures & resin spills.
If you are still experiencing technical difficulties
please launch a support ticket via the button below.