Max 2
Printing on the Max 2
Install Composer
Composer is the bridge between design software & Asiga 3D printers.
Use Composer to prepare parts for 3D printing including nesting, scaling, positioning, supporting & more.
Composer is compatible with a range of file formats including:
- STL
- SLC
- PLY
- STM
System requirements
Operating System
Windows
Mac
Linux
Windows
Mac
Linux
Processer:
1.6 GHz multi-core
Memory:
2 GB
Graphics:
64 MB, OpenGL 2.0 or later
Mouse:
3 button with scroll wheel / trackpad
Setting up your first print in Composer
Watch the below video to learn about starting a new print in Composer.
Before starting a new print ensure you have correctly set up your printer.
It is essential that your printer is correctly set up before starting a print to avoid failures.
Access printer via web interface
The printer’s web interface allows you to interact with the printer from the comfort of your desk.
Stirring material
A crucial step in starting a print is ensuring the material is stirred.
Pigments in resin will settle over time making this such an important step.
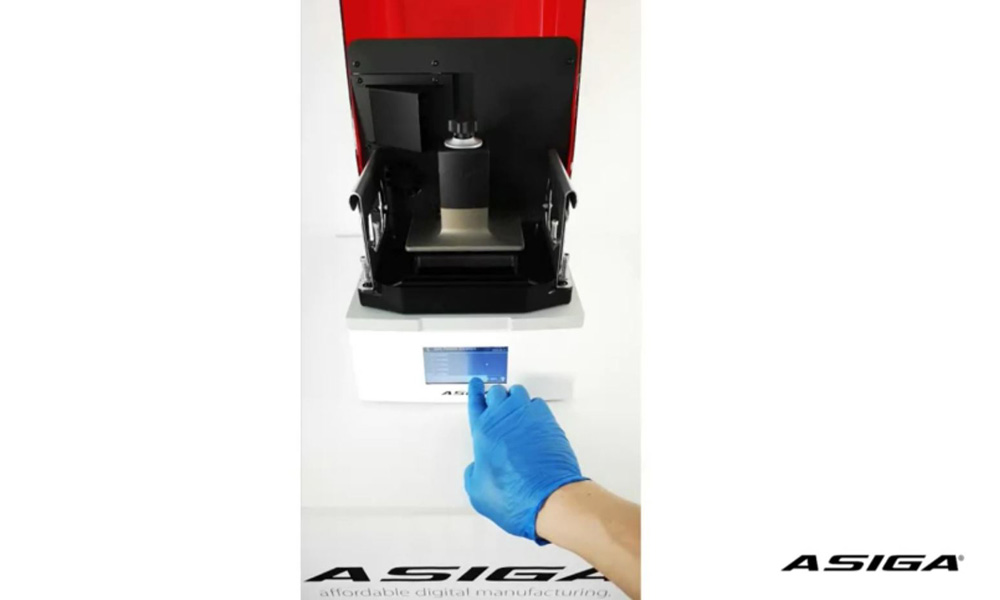
Starting a print
When a build has been submitted to the printer, follow the steps below to start a print.
To start a print from the web interface click here >
On the printer Main Menu
- Select Build Queue

Select one of the following options:
- The first build is the previous/cancelled build.

Confirm the settings on the Print Preview screen.

The printer will run through a pre-print checklist. Printing will commence automatically if everything is OK.

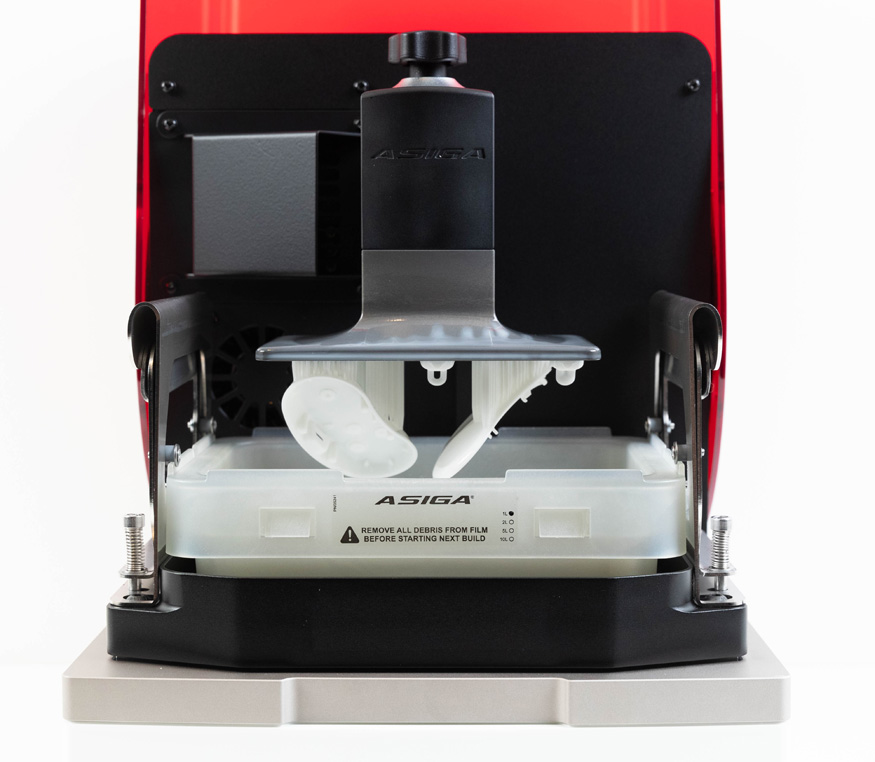
Removing a build
When the printer has finished a build, you can now start to post-process the parts.
Click here to learn more about removing parts & post processing.