Materials
Additional Resources
Materials
Estimated print time is longer than normal
SuperWAX printing guide
General information
Superwax turns to a solid at room temperature and turns liquid at temperatures above 27 degrees celcuis (80F)
It needs to be in a liquid state for printing.
The warmer SuperWax gets, the more liquid the resin becomes and the more “sticky” (higher adhesion to teflon film) a cured layer will be.
Special Care needs to be taken when handling printed Parts.
Cured SuperWax is very brittle at room temperature and becomes more brittle with lower temperatures. It becomes softer with higher temperatures. It will plastically deform at temperatures above 30 degrees and melt at elevated temperatures (this temperature can vary on thickness and print conditions).
Setup
Place the bottle in a tub of hot water (70°C) to liquify the resin for 10 minutes.
Check state by shaking the bottle. If the material is still hard, return it to the tub.
Be careful when opening the bottle as there might be a solid piece stuck to the cap.
Do not apply more than 90°C to heat up the material as this will damage the bottle.
Make sure all of the resin inside the bottle is fully liquid before pouring into tray (you will hear a knocking sound of lumps when shaking the bottle after heating).
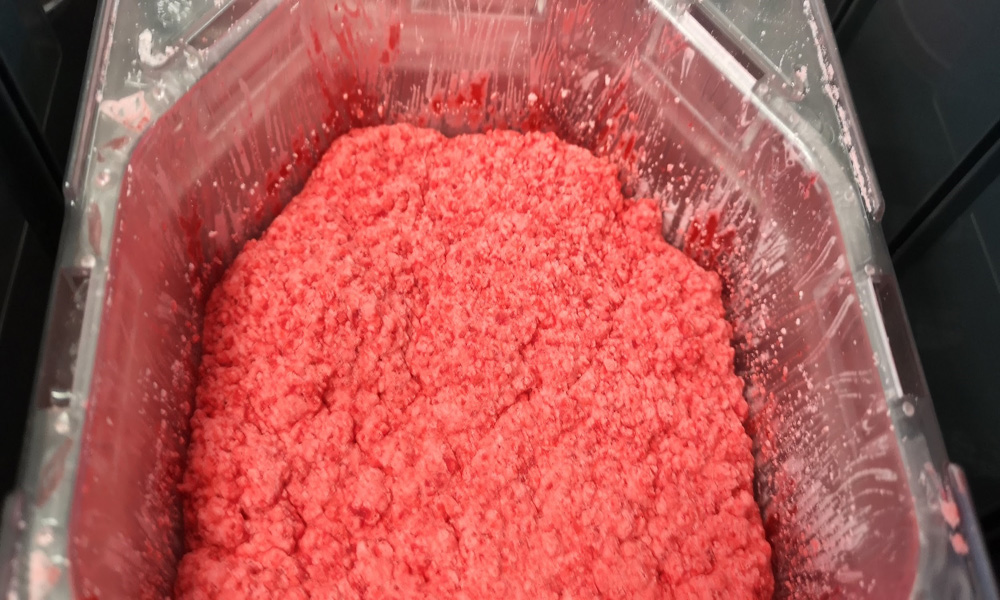
If the resin is left in the tray and allowed to cool down, it will look like a powdery solid.

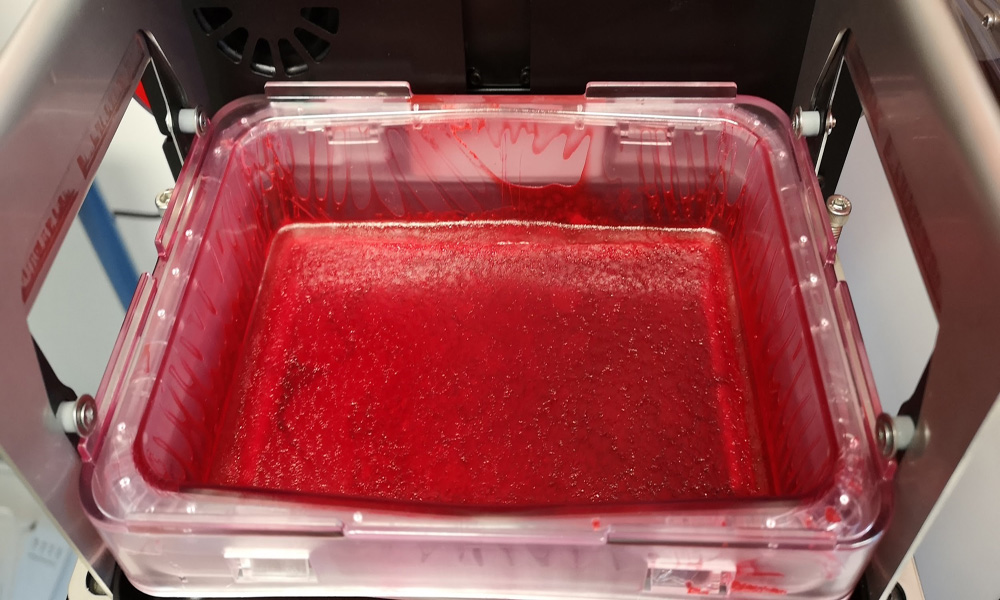
Ensure the resin is fully liquid before starting a print or it will fail.

The build tray can withstand temperatures up to 50 degrees celsius (122F). Anything higher will warp it and is best avoided.
If you leave the tray in the oven for 40-50 minutes and stir regularly, the wax will turn liquid.
Ensure the ambient temperature is a constant 20-22 degrees celsius (72F).
The internal printer temperature settings should be set to 30 degrees celsius (86F).
It is important to note that the temperatures should not fluctuate too much or it will impact your print results!
General CAD rules
- Avoid thin wire structures, these will be too brittle during post processing. SuperCAST HD or X are better suited for these kind of structures.
- Use the smallest supports possible, as removal of supports may damage your part.
- Use a shadow baseplate where possible, for easy removal of parts from build platform.
- Add as much of final spruing to your CAD design to minimize contact of delicate parts with hot wax needle.
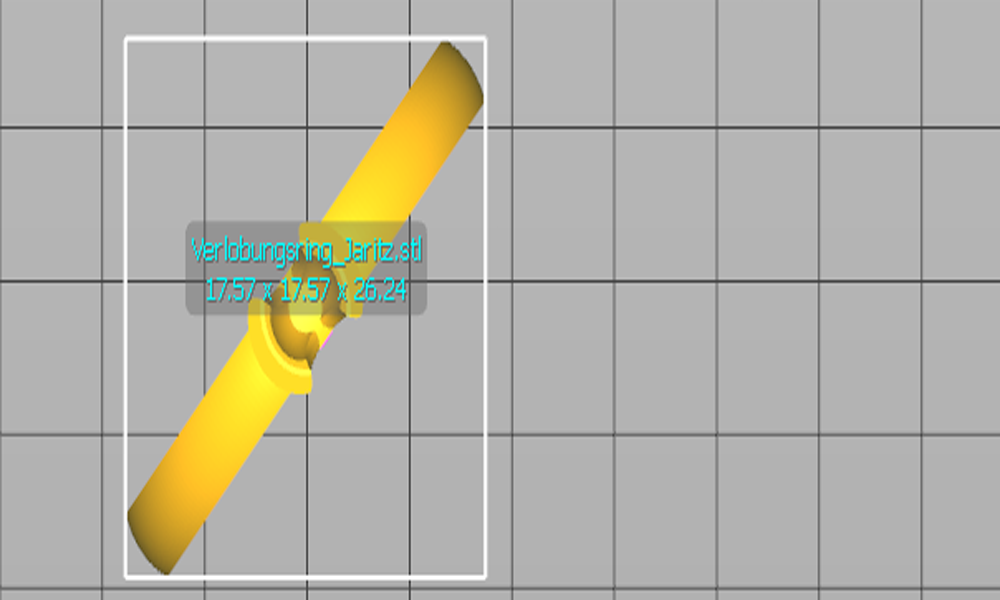
Turning the parts 45 degrees around Z hides artifacts from rasterization better. This will result in improved surface quality.

Printing
Print speed of SuperWAX is determined by local temperature of the layer being cured.
Seperation should start when the layer has cooled down below 30 degrees celsius (86F).
- Reducing light intensity to +/- 7 mW will increase your exposure times, but allow reduction of wait times after exposure as less heat will be generated.
- Wait time after Approach can be reduced to lower valued if the cross section of the object is smaller. Larger cross sections generate more heat, which take longer to dissipate. Use the multi-range feature for this.
On a MAX and MAX X (385/405) we were able to reduce wait time after exposure to 5 seconds and succesfully build any geometry. Ambient temperature was 24 degrees celsius (75F) and build chamber measured at 27 degrees celsius (82F).
This allowed for production of 1200 layers (at 25µm) in 6 hours.
Postprocessing
- Use an ultrasonic knife or sharp knipex to remove supports.
- Cut the supports 0.5-1mm outside of part to prevent breakage. We suggest to cast with these support bumps and remove them from the cast metal rather than from the brittle SuperWAX.
- Temperature of the IPA should never exceed 29 degrees celsius (85F) to prevent deformation.
- Cleaning should be as short as possible, please refer to the IFU.


