MAX X
Printing on the MAX X
Access printer via web interface
The printer’s web interface allows you to interact with the printer from your computer.
It also allows you to control the print queue, update the firmware & access error logs.
There are two ways to access the web interface.
Autodetect in Composer
- Ensure your printer is connected to your network.
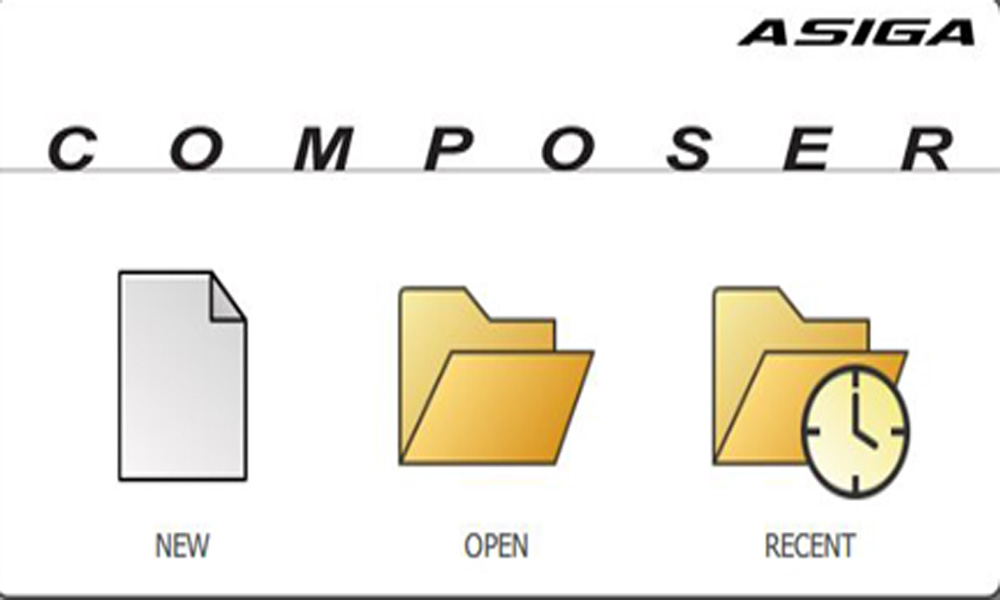
- Select New
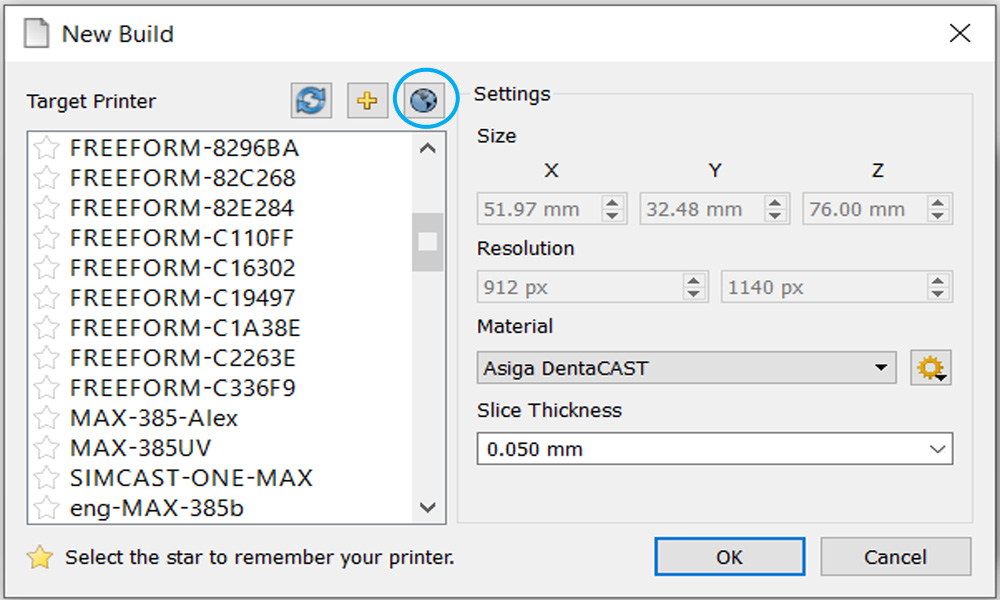
- Select your target printer
- Click on the Earth Icon
Known IP address or printer name
- Open your web browser
- Type into the address bar: http://<printer name or IP address>
- Hit enter

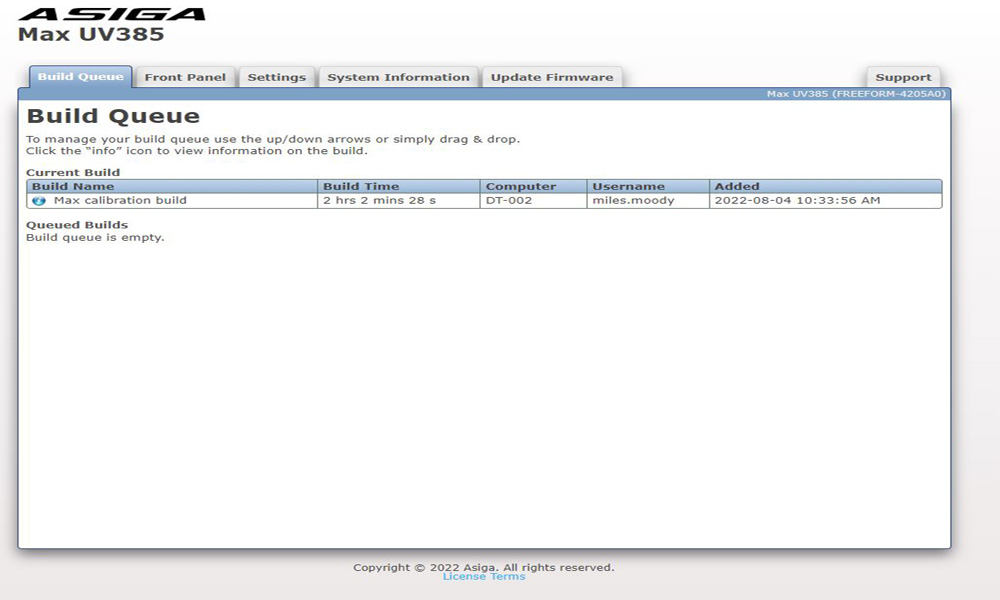
Build Queue
The build queue provides you with an overview of print jobs queued in your printer.
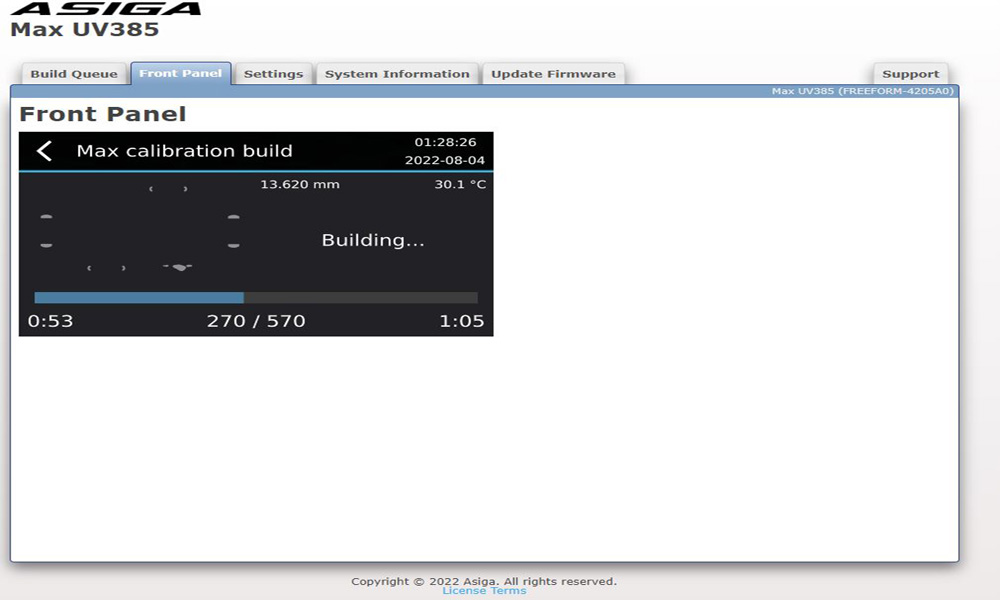
Front Panel
The front panel allows you to view in real time what your printer is doing.
It can also act as a remote control allowing you to control the printer from the comfort of your desk.
Settings
In the settings tab you can view your printer’s build extents hide certain menu features.
This is a handy feature in a production environment if no settings are to be changed without autorisation.
Asiga does not advise modifying the build extents without supervision from an authorised reseller or Asiga. Changing the build extents will cause loss of accuracy!

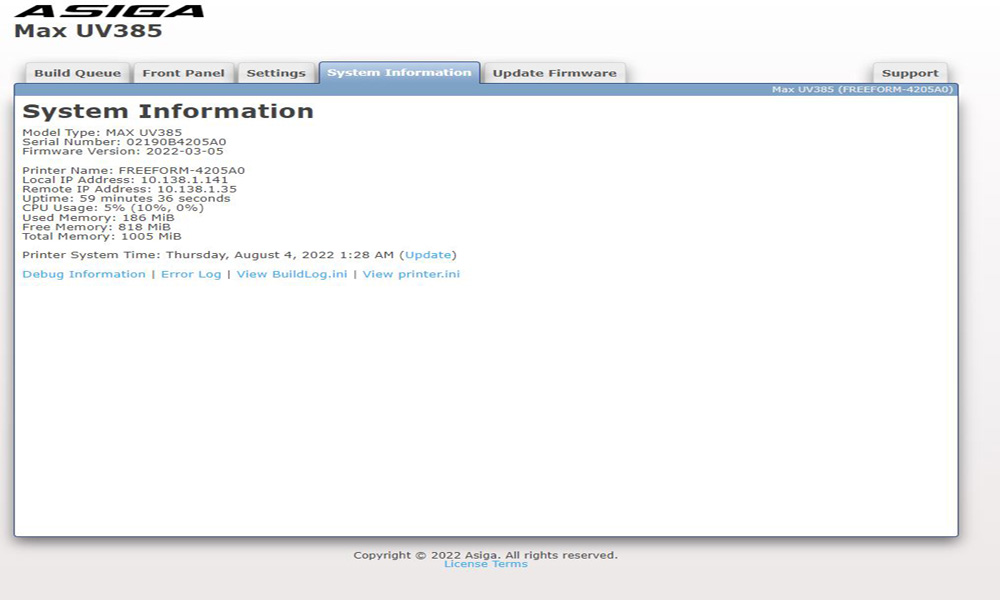
System information
System information provides you with operational information on your printer like printer name and printer uptime.
The most important function of this tab is access to all the printer logs.
The following logs are available:
– Debug Information
– Error log
– Buildlog
– Printer ini
These logs are very important for any technical support request as they will provide our Asiga technicians with invaluable technical information specific to your printer.
To download the logs, please right click and “save as”.
Update Firmware
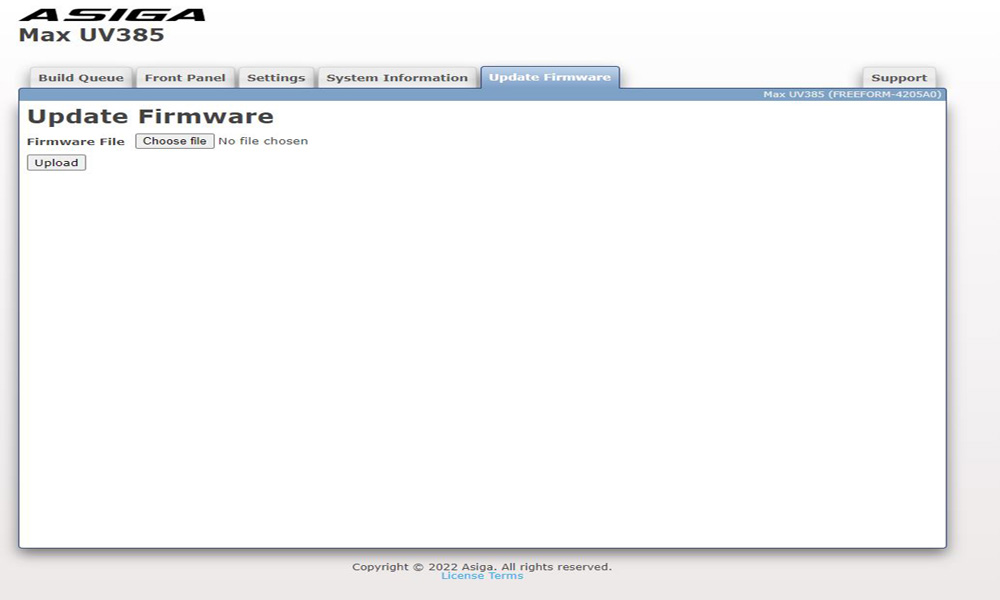
- To update the firmware of your printer, please click here to download the latest version for the MAX X.
- Click “choose file” and navigate to the downloaded file.
- When finished uploading, your printer will automatically restart and your new firmware has been succesfully installed.
