Composer
Part setup for Dentistry
Composer
Encoders keep jumping around, is this normal?
Part setup for Dentistry
Below is a guide to help optimise print accuracy and accuracy for a range of dental appliances.
DentaMODEL
With its high accuracy and excellent surface detail, Asiga DentaMODEL is the ultimate material for 3d printing crown and bridge removable die models and implant analogue models. With its stone-like almond colour, you will quickly be able to find margin lines and view crisp anatomical details with ease.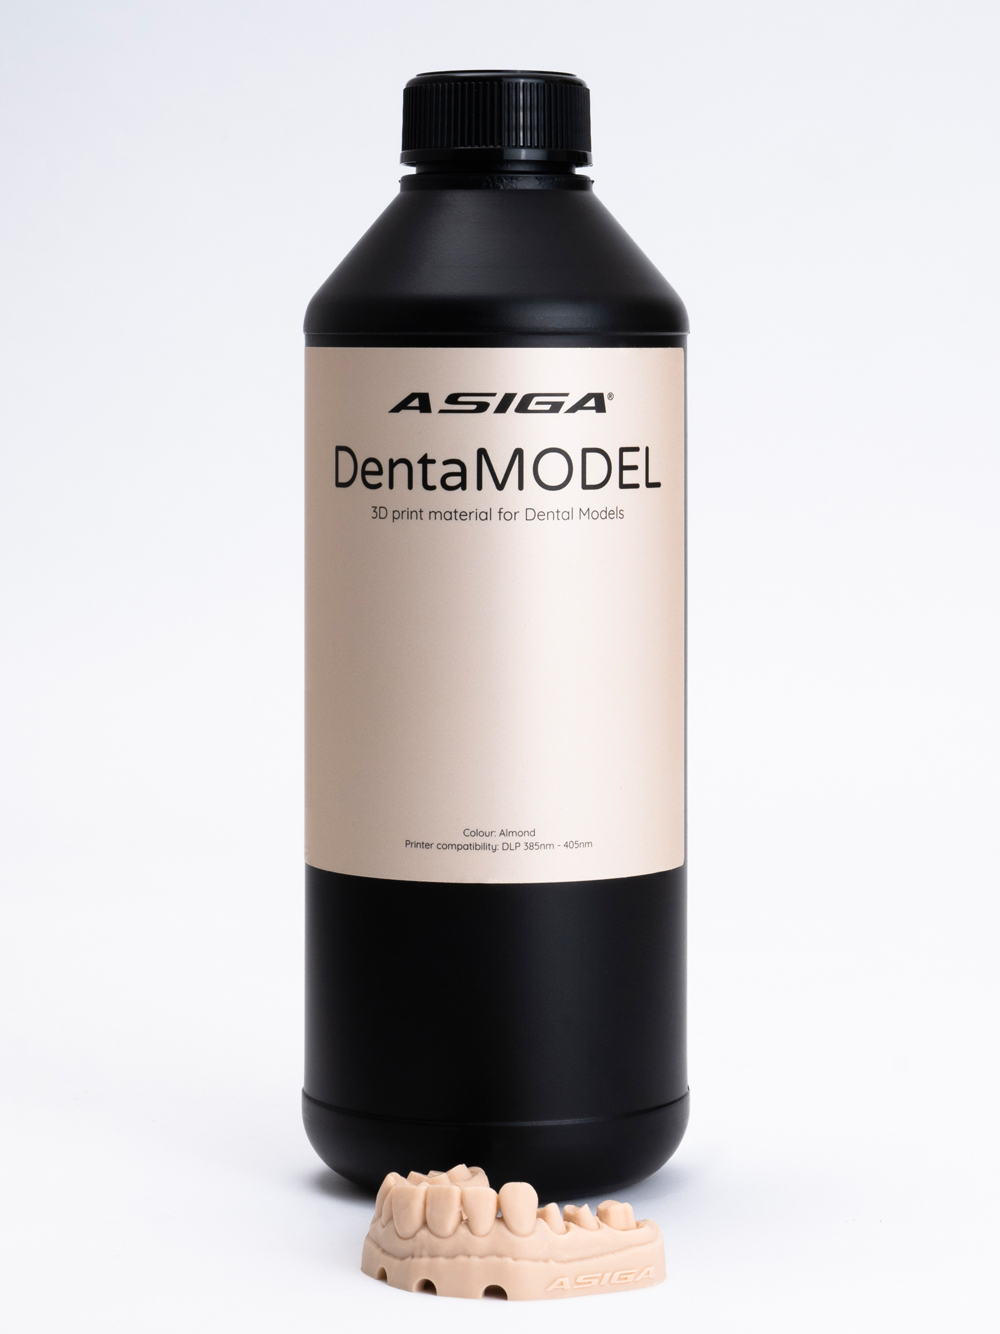
| Indication list | Recommended Layer Thickness | Recommended Part Orientation |
|---|---|---|
| Crown and Bridge Models | 50 µm | Horizontal |
| Dental Implant models | 50 µm | Horizontal |
| RPD and Denture Models | 50 µm | Horizontal |
| Diagnostic Wax-up Models | 100 µm | Vertical |
| Study models | 100 µm | Vertical |
| Dental Thermoforming models | 100-150 µm | Vertical |
Part Orientation
Part orientation will determine how many parts you can get on a single build.
More importantly it will also be a factor in achieving the highest accuracy.
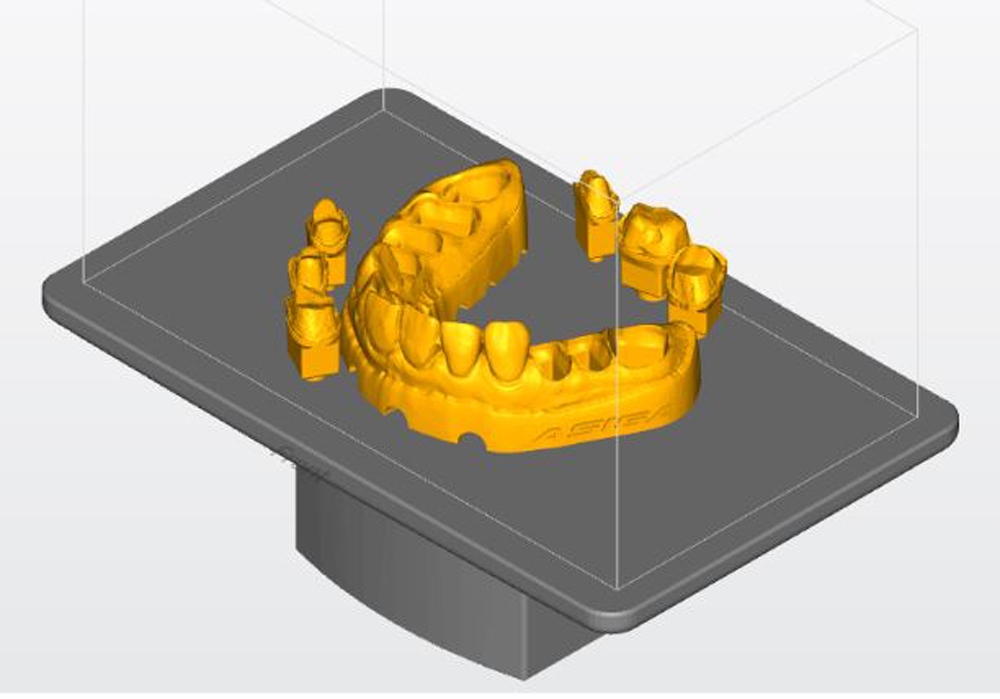
Horizontal orientations will produce higher precision.
Horizontal
- Crown and Bridge Models
- Dental Implant Models
- RPD and Denture Models
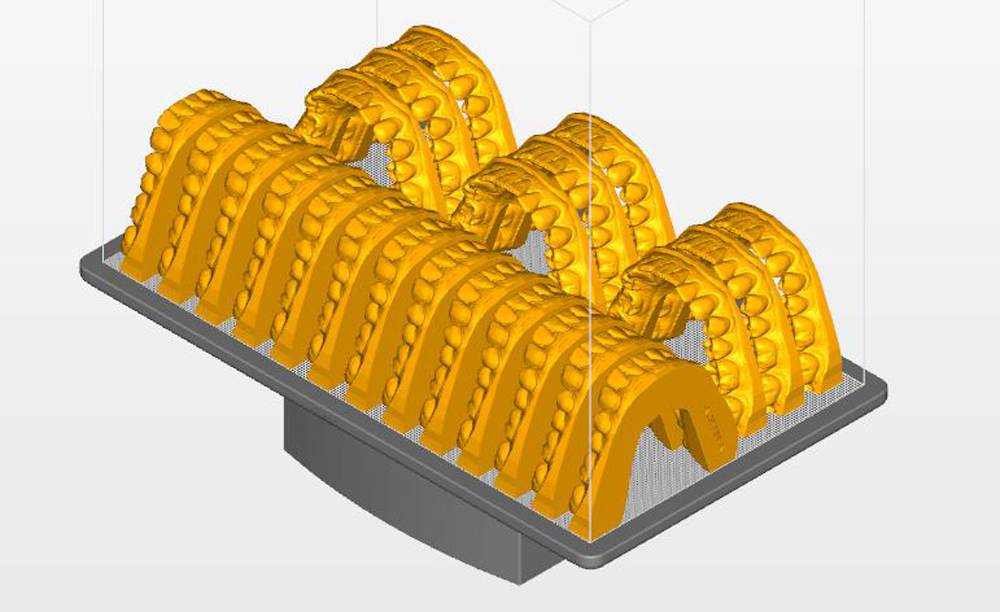
Vertical
- Study Models
- Diagnostic Wax-up Models
- Dental Thermoforming Models
Design tips
Hollow Models
- Make sure hollow models have drain holes at the base of the models to prevent volumetric pressures from occuring.
Learn more here > - Hollow models can still carry a lot of liquid resin in their cavities after printing. Especially with higher viscous materials. This can lead to increased cleaning efforts and quicker contamination of your cleaning solution.
Consider printing solid models over hollow models for process optimisation.
- Make sure hollow models have drain holes at the base of the models to prevent volumetric pressures from occuring.
- Always use the appropriate design settings, which can be found here >
DentaFORM
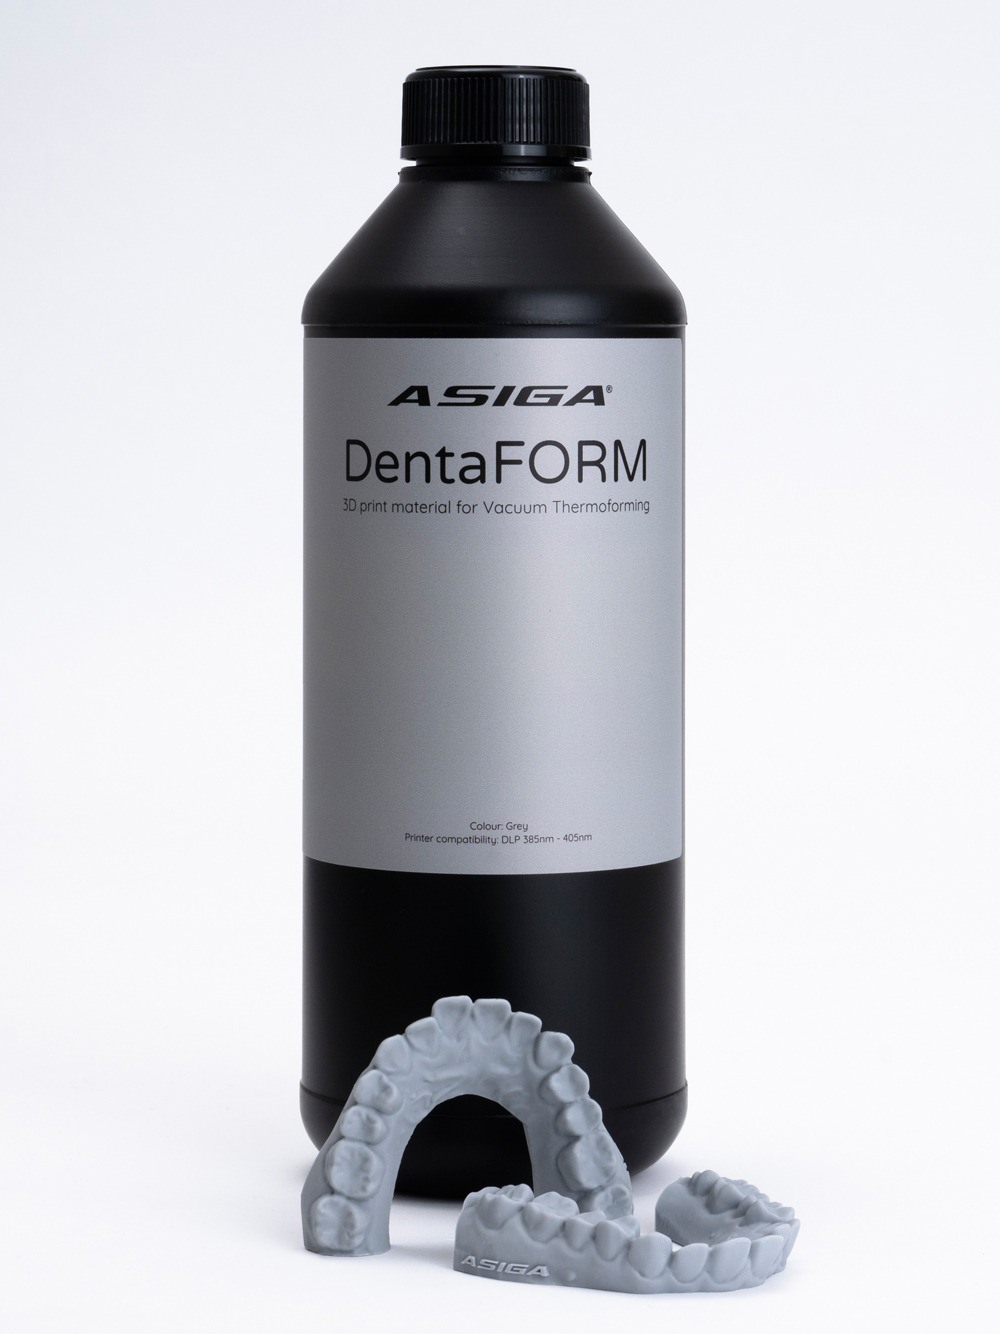
Asiga DentaFORM is a high heat resistant material with unique ‘Anti-Stick’ surface release chemistry making it perfect for vacuum and pressure thermoforming. Asiga’s ‘Anti-Stick’ formula resists sticking to the heated substrate allowing you to remove the formed appliance without breakage to the model or appliance.
| Indication list | Recommended Layer Thickness | Recommended Part Orientation | ||
|---|---|---|---|---|
| Clear Aligners | 50-150 µm, depending on desired surface detail | Horizontal/Vertical | ||
| Night Guards | 50-150 µm, depending on desired surface detail | Horizontal/Vertical | ||
| Splints | 50-150 µm, depending on desired surface detail | Horizontal/Vertical | ||
| Sportsguards | 50-150 µm, depending on desired surface detail | Horizontal/Vertical |
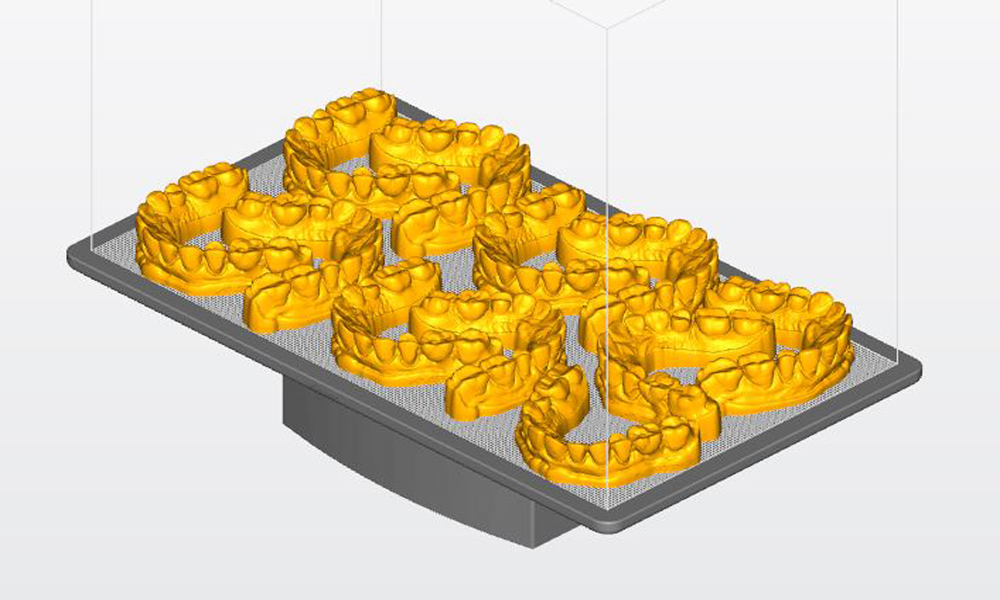
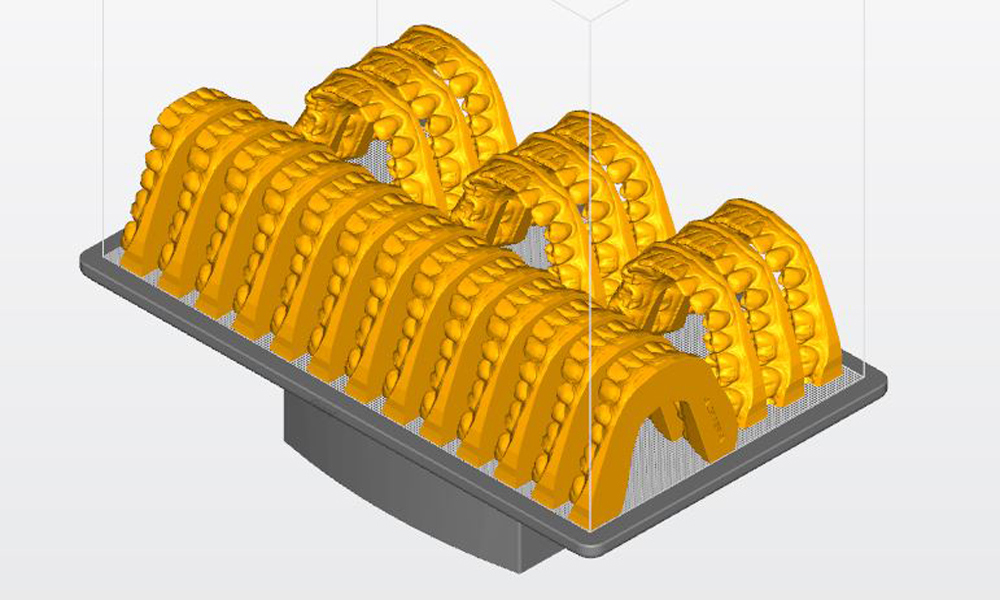
Part Orientation
Part orientation will determine how many parts you can get on a single build.
More importantly it will also be a factor in achieving the highest accuracy.
Horizontal orientations will produce higher precision.
Design tips
Hollow Models
- Make sure hollow models have drain holes at the base of the models to prevent volumetric pressures from occuring.
Learn more here > - Hollow models can still carry a lot of liquid resin in their cavities after printing. Especially with higher viscous materials. This can lead to increased cleaning efforts and quicker contamination of your cleaning solution.
Consider printing solid models over hollow models for process optimisation.
- Make sure hollow models have drain holes at the base of the models to prevent volumetric pressures from occuring.
- Always use the appropriate design settings, which can be found here >
- A Flat surface at the “heels” of the model will help create a flat surface for printing in vertical orientation.
DentaSTUDY
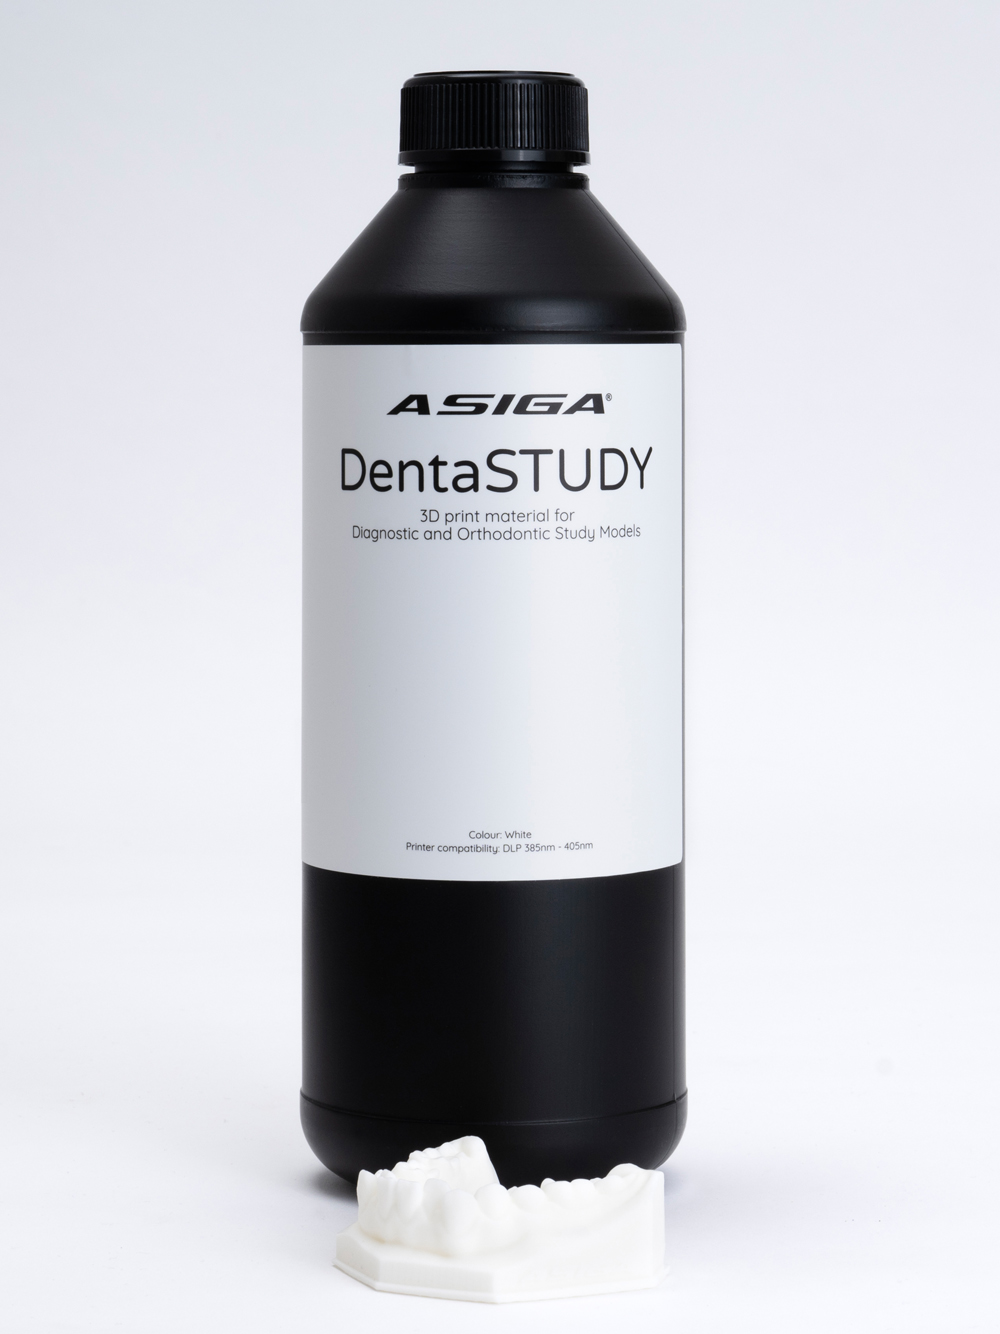
Asiga DentaSTUDY model material was developed with diagnostics in mind. With it is vibrant white colour and high precision, it is perfect for producing digital diagnostic wax-up models, study models, and orthodontic models.
Use this material to help show your patient what their smile could really look like.
| Indication list | Recommended Layer Thickness | Recommended Part Orientation |
|---|---|---|
| Diagnostic Wax-up Models | 50-100 micron depending on desired surface detail. | Horizontal/Vertical |
| Orthodontic Models | 50-100 micron depending on desired surface detail. | Horizontal/Vertical |
| Study Models | 50-100 micron depending on desired surface detail. | Horizontal/Vertical |
Part Orientation
Part orientation will determine how many parts you can get on a single build.
More importantly it will also be a factor in achieving the highest accuracy.
Horizontal orientations will produce higher precision.


Design tips
Hollow Models
- Make sure hollow models have drain holes at the base of the models to prevent volumetric pressures from occuring.
Learn more here > - Hollow models can still carry a lot of liquid resin in their cavities after printing. Especially with higher viscous materials. This can lead to increased cleaning efforts and quicker contamination of your cleaning solution.
Consider printing solid models over hollow models for process optimisation.
- Make sure hollow models have drain holes at the base of the models to prevent volumetric pressures from occuring.
- Always use the appropriate design settings, which can be found here >
DentaCAST
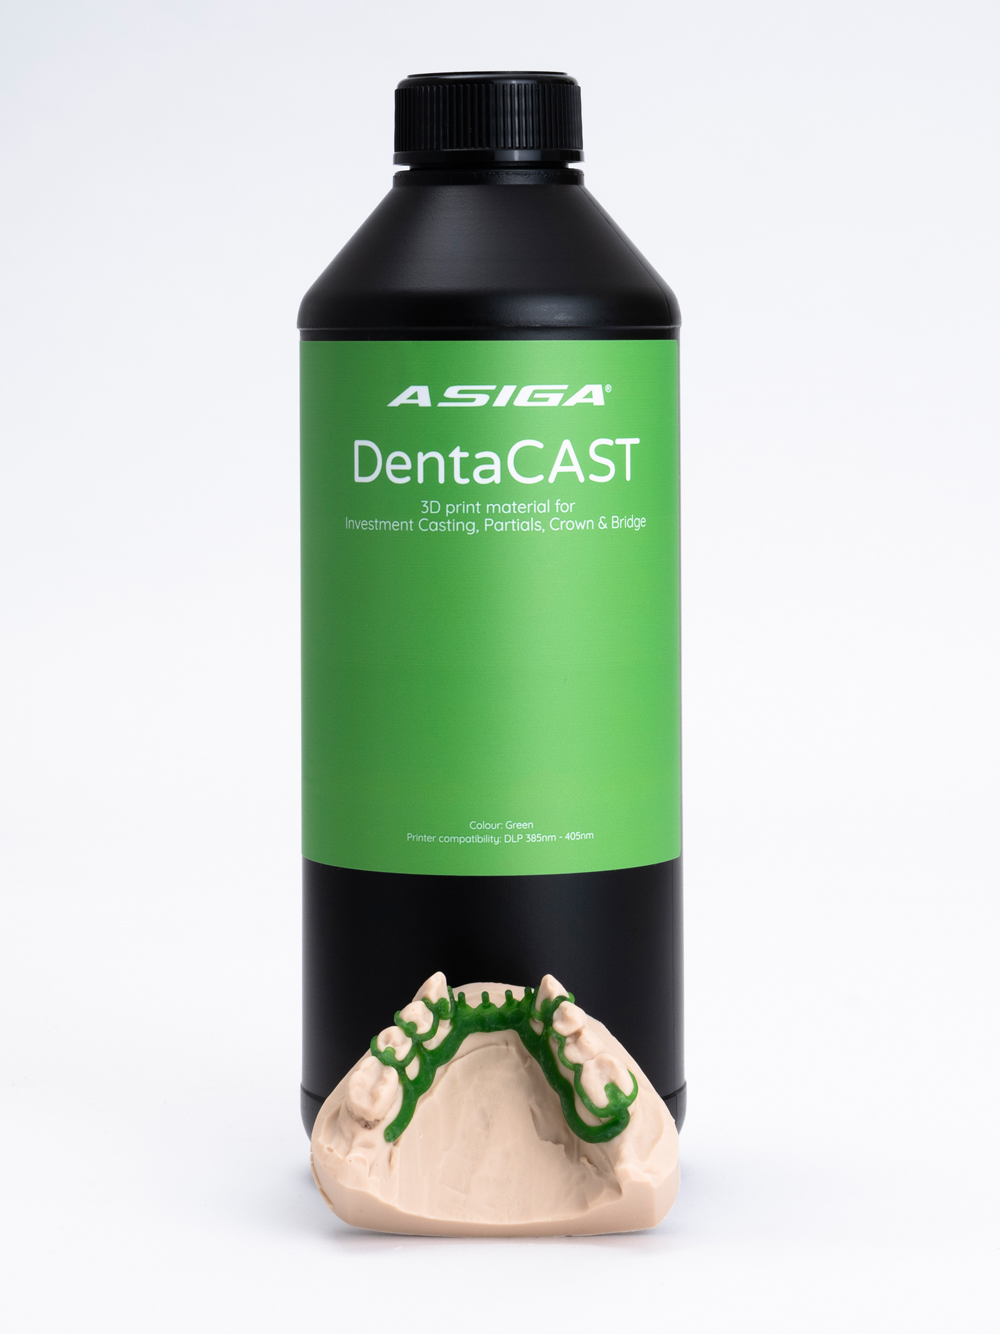
Asiga DentaCAST is an ‘Ash-Free’ direct-cast material for lost-wax casting. No more hand wax-ups as with digital design and 3D printing you can digitally produce your metal partial frameworks, gold crowns, bridges or even press lithium disilicate quickly and accurately.
Asiga DentaCAST provides an exceptionally accurate output for dimension critical appliances.
| Indication list | Recommended Layer Thickness | Recommended Part Orientation |
|---|---|---|
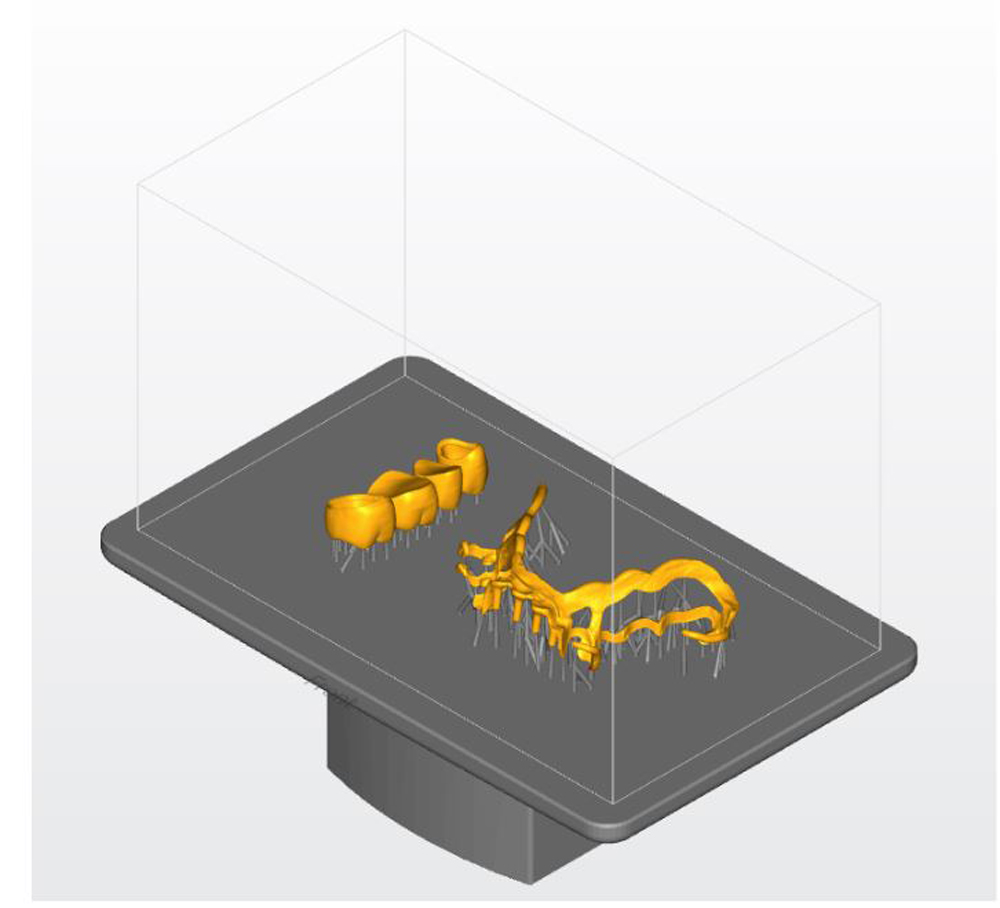
| Crown and Bridge Metal Prosthetics | 50 µm | The occlusal surface should be facing the build platform. Patient interfacing areas should face away from the build platform. |
| Crown and Bridge Lithium Disilicate Prosthetics | 50 µm | The occlusal surface should be facing the build platform. Patient interfacing areas should face away from the build platform. |
| Metal Partial Frameworks | 75 µm | The intaglio surface should be facing away from the build platform. |
Part Orientation
Part orientation will determine how many parts you can get on a single build.
More importantly it will also be a factor in achieving the highest accuracy.
Horizontal orientations will produce higher precision.
Design tips
- It is recommended to not have wall thicknesses below 0.4mm as this could distort when investing.
- Always use the appropriate design settings, which can be found here >
DentaGUIDE
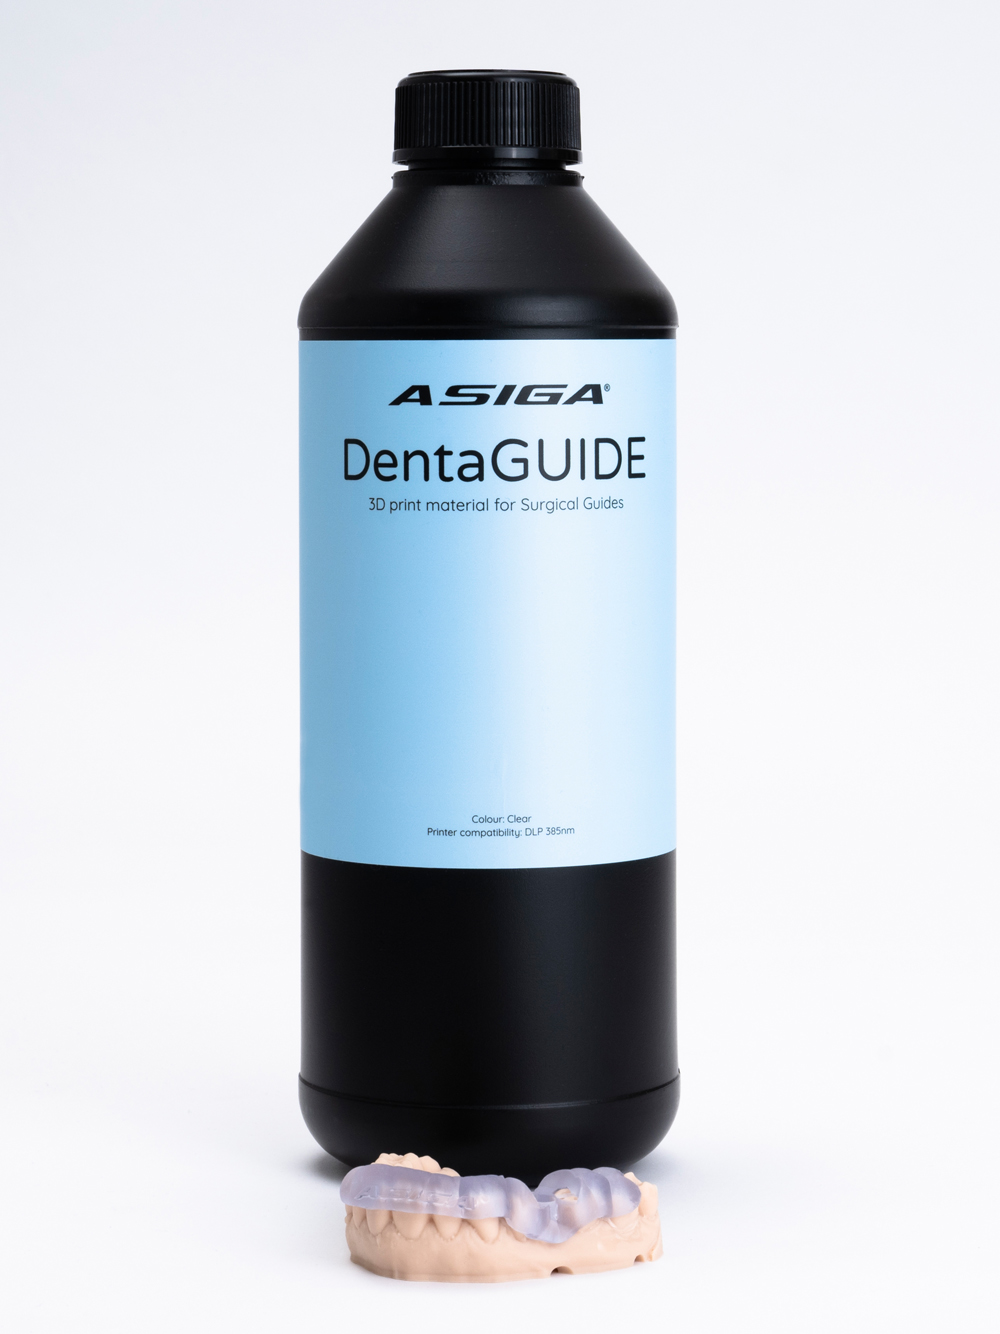
Asiga DentaGUIDE is a rigid, clear, autoclavable, biocompatible material engineered for the fabrication of surgical guides. Optimised for UV (385nm) printers, Asiga DentaGUIDE accurately realises glue channels, positioning windows, and drill holes allowing clinicians to effectively place implants accurately and with ease.
Asiga DentaGUIDE can also be used for gingivectomy guides and bone reduction guides.
| Indication list | Recommended Layer Thickness | Recommended Part Orientation |
|---|---|---|
| Implant Surgical Guides | 100 µm | See below |
| Gingivectomy Surgical Guides | 100 µm | See below |
| Bone Reduction Guides | 100 µm | See below |
| Implant Abutment Positioning Guides | 100 µm | See below |
Part Orientation
Part orientation will determine how many parts you can get on a single build.
More importantly it will also be a factor in achieving the highest accuracy.
Horizontal orientations will produce higher precision.
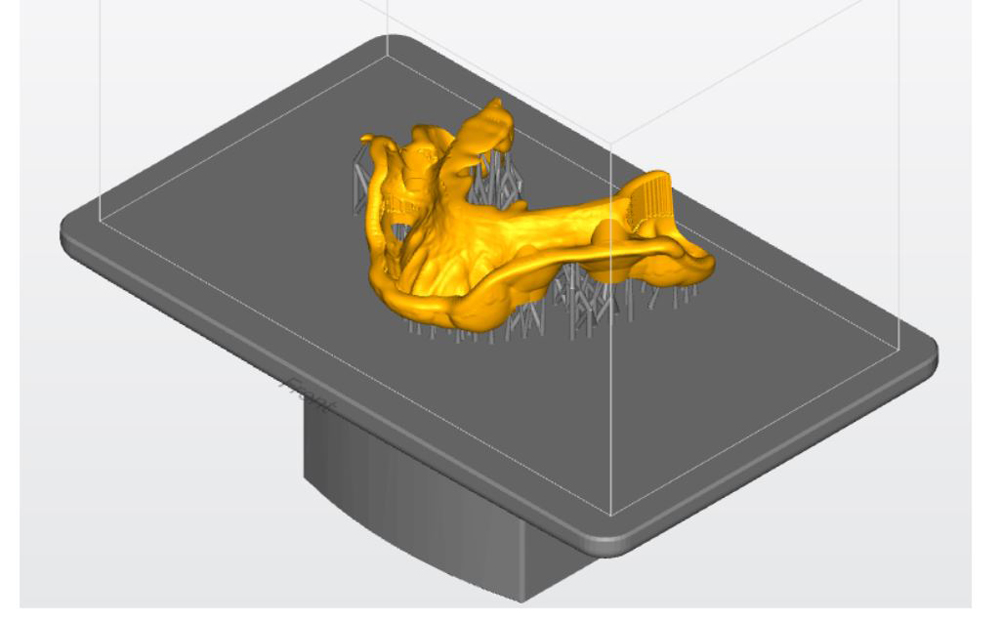
Parts should be oriented so the implant drilling hole is horizontal to the build platform.
If a guide has more than one implant drilling hole, position the guide so all the holes are as horizontal as possible.
Design tips
- Always use the appropriate design settings, which can be found here >
DentaBASE
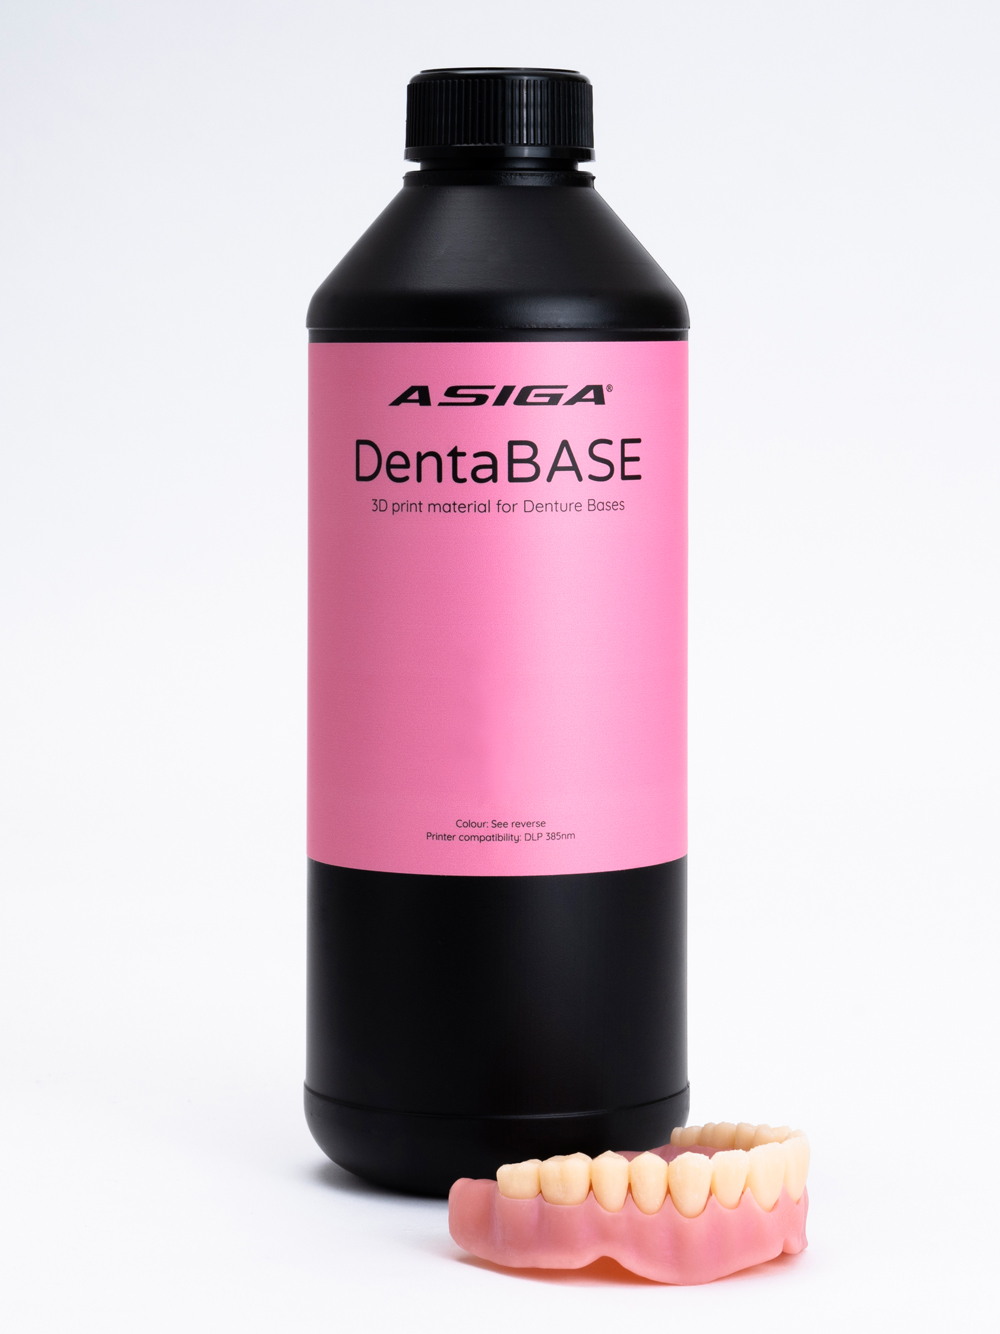
High impact resistance, ease of finishing and high stain resistance make Asiga DentaBASE a robust solution for manufacturing denture bases. Asiga DentaBASE serves in producing the base to your two-part denture by combining with 3D printed denture teeth, milled denture teeth or carded denture teeth.
High strength and rigidity, ease of finishing and excellent adhesion characteristics for bonding Asiga DentaTOOTH Denture Tooth resin. For a patient compliant and comfortable digital denture, it all starts with Asiga DentaBASE.
| Indication list | Recommended Slice Thickness | Recommended part orientation |
|---|---|---|
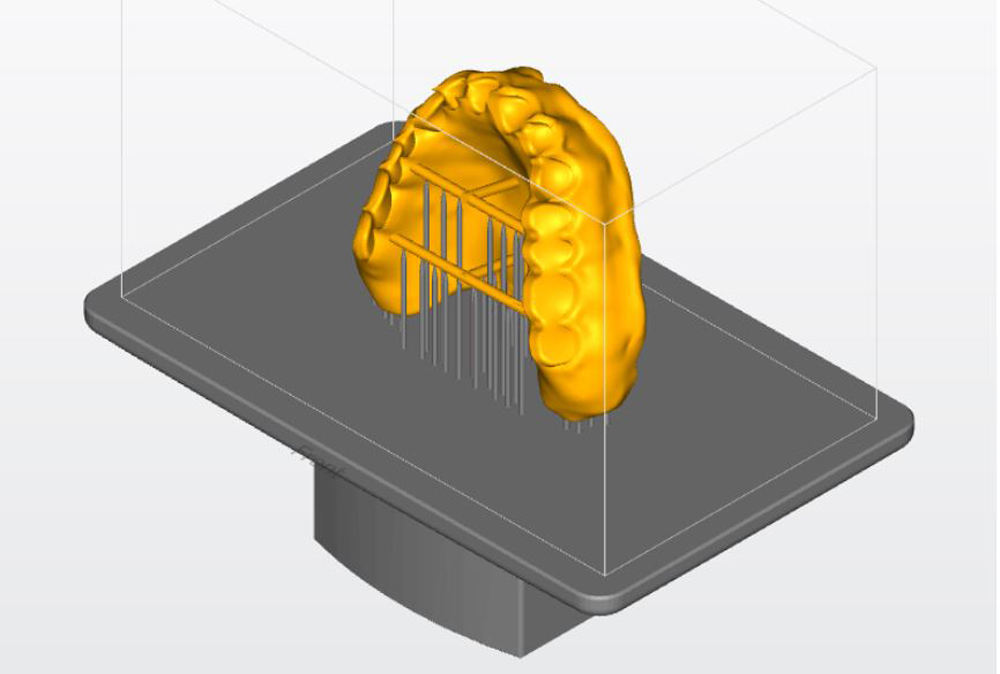
| Denture Base | 50-100 µm 50 µm for higher quality surface 100 µm for quicker print speed | 60-80 Degree inclination with the intaglio surface towards the build platform. |
| Upper Dentures should be oriented so that the posterior region is closest to the build platform. | ||
| Lower Dentures should be oriented so that the anterior region is closest to the build platform. |
Part Orientation
Part orientation will determine how many parts you can get on a single build.
More importantly it will also be a factor in achieving the highest accuracy.
Horizontal orientations will produce higher precision.
Design tips
- A 50-100 µm spacing between the denture base & tooth is recommended for best fitment.
- At least 1 bar connecting the two sides of the arch is necessary to prevent warping of the model. This is especially true for Lower Dentures.
- Always use the appropriate design settings, which can be found here >
DentaTOOTH
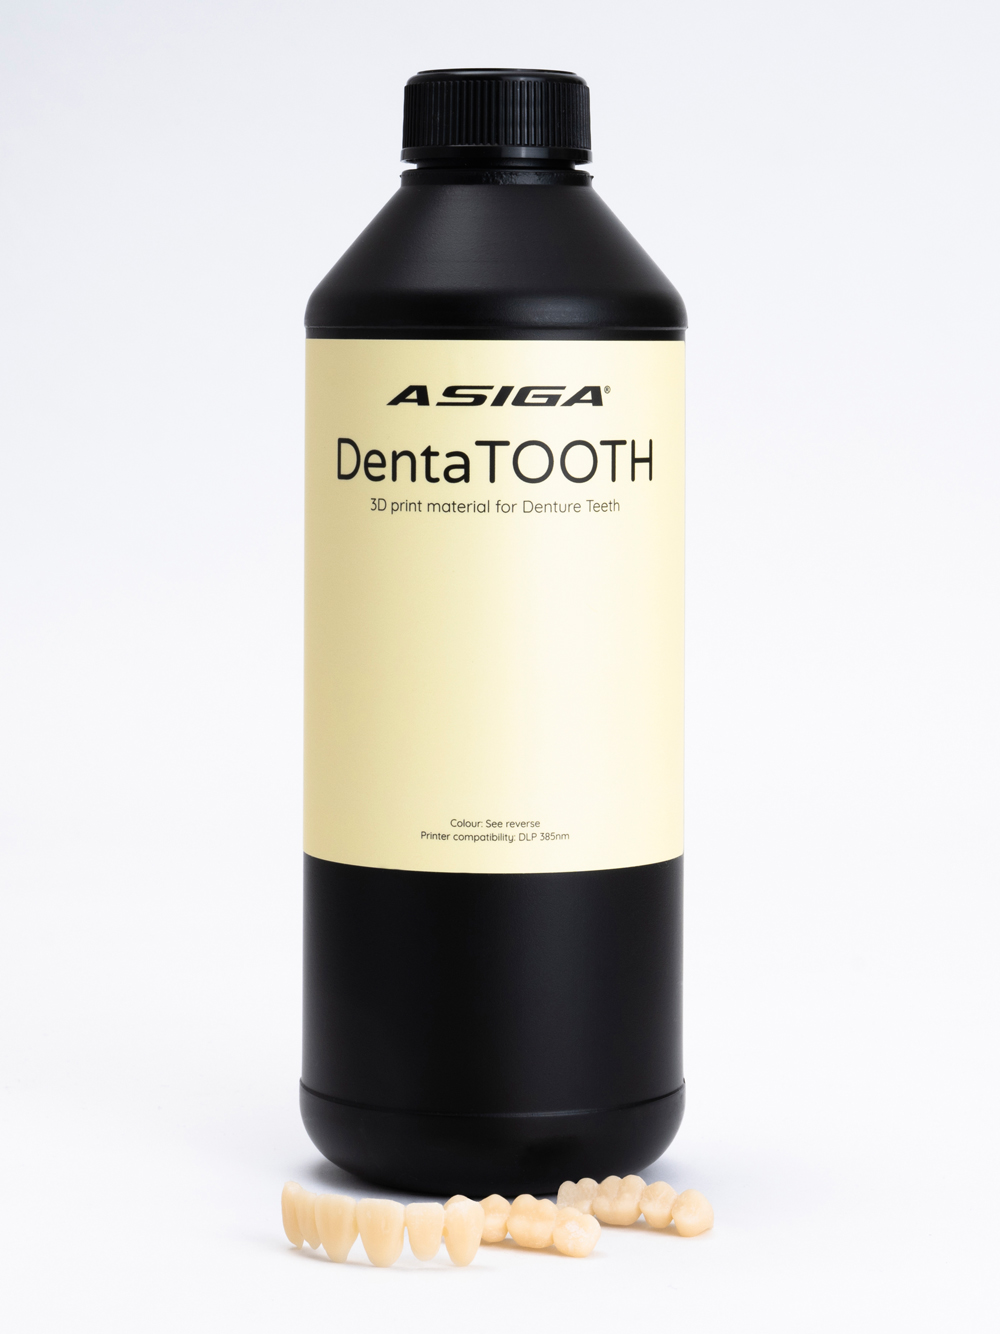
Asiga DentaTOOTH is a high strength, high-wear and stain resistant 3D printable resin for the production of Denture Teeth. When producing a digital denture in two-parts (base and teeth separated) 3D printing denture teeth is the ultimate way to create a highly detailed and customized smile.
With advantages over milled denture teeth and carded teeth, you can produce more, save time, and reduce costs with 3D printing. Asiga DentaTOOTH is available in Vita colours A1, A2, A3, B1, B2, and B3.
| Indication list | Recommended Thickness | Recommended part orientation |
|---|---|---|
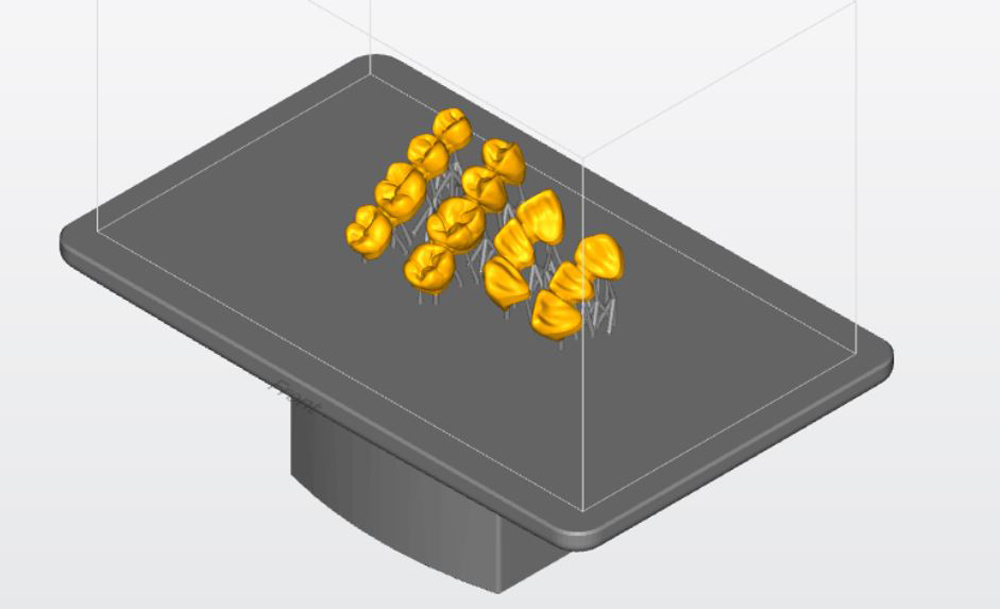
| Denture Teeth | 50 µm | 45-90 Degree Orientation so the occlusal surface is pointing away from the build platform, allowing supports to be generated on the socketing side of the teeth. |
Part Orientation
Part orientation will determine how many parts you can get on a single build.
More importantly it will also be a factor in achieving the highest accuracy.
Horizontal orientations will produce higher precision.
Design tips
- A 50-100 µm spacing between the denture base & tooth is recommended for best fitment.
- Always use the appropriate design settings, which can be found here >
DentaTRY
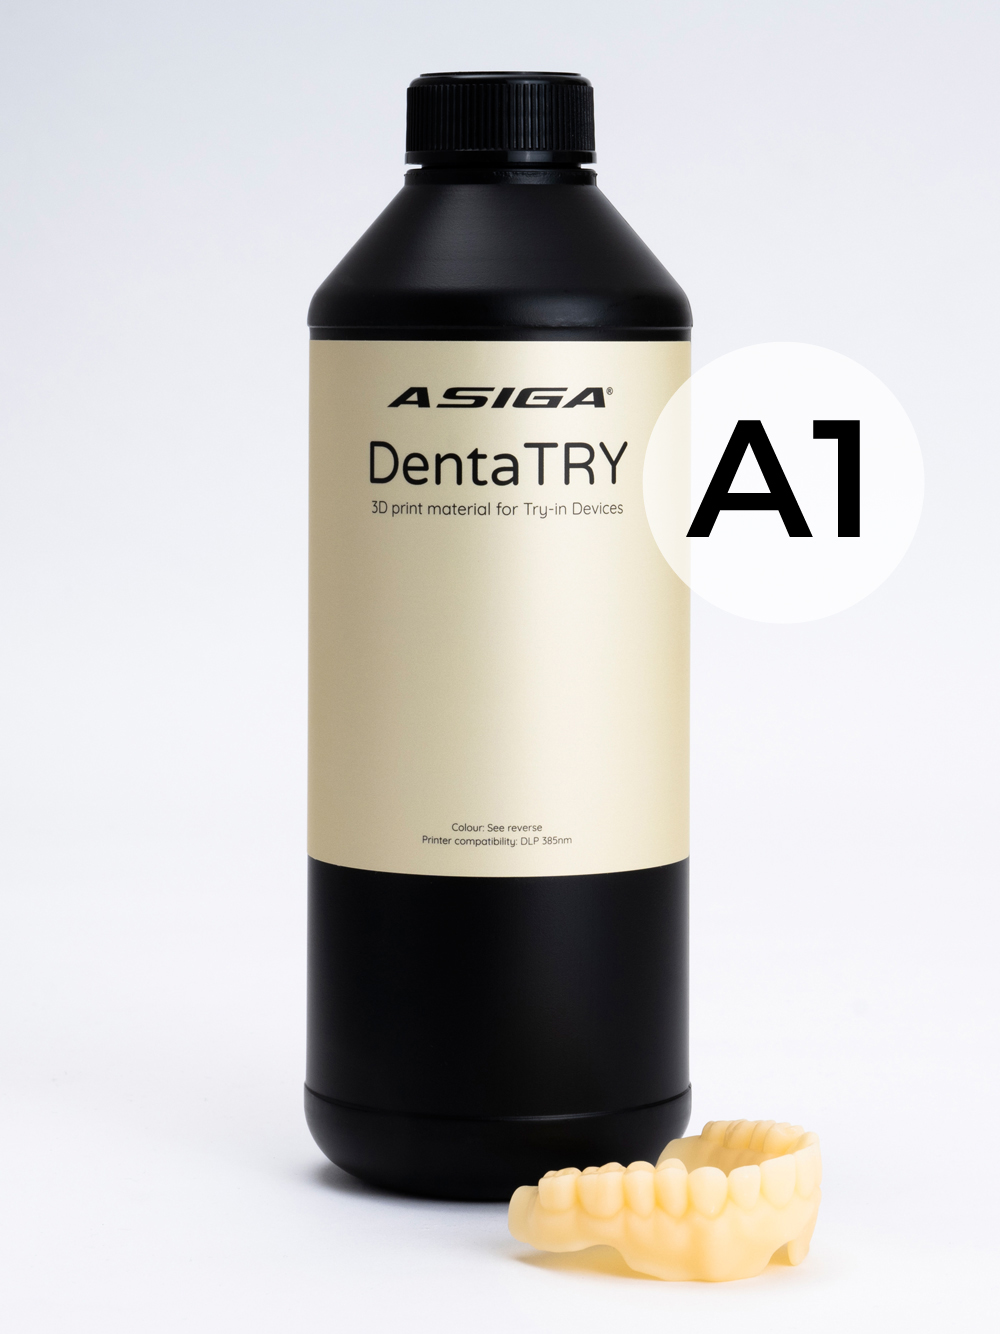
The production of a Try-In Denture is the first step in verifying that your digital denture design has an optimised fit and desired aesthetic for your patient. Reduce patient visits and obtain patient approval prior to manufacturing a full denture.
Asiga DentaTRY is available in a range of Vita Colour shades including A1, A2, A3, B1, B2, B3. Asiga DentaTRY is easy to carve, adjust, and add wax to make the required adjustments in the Try-In phase. This will help guide further design steps for producing the perfect final prosthetic.
| Indication list | Recommended layer thickness | Recommended part orientation |
|---|---|---|
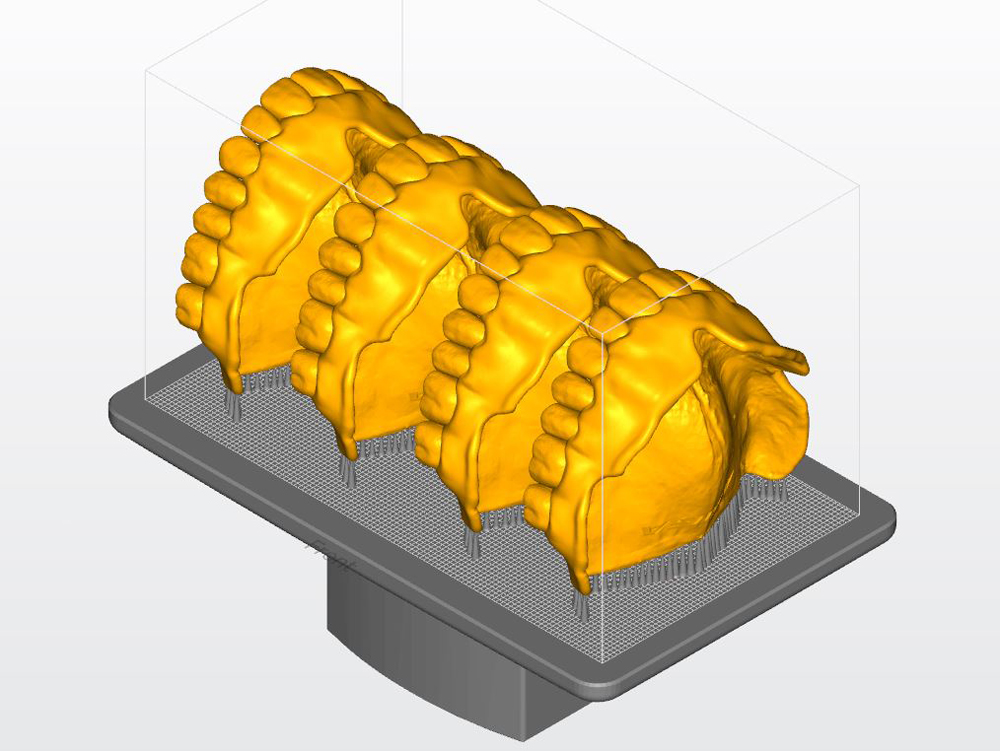
| Try-in Dentures | 100 µm | 60-80 Degree Inclination with the intaglio surface facing towards the build platform. |
| Upper Try-in Dentures should be oriented so that the posterior region is closest to the build platform. | ||
| Lower Try-in Dentures should be oriented so that the anterior region is closest to the build platform. |
Part Orientation
Part orientation will determine how many parts you can get on a single build.
More importantly it will also be a factor in achieving the highest accuracy.
Horizontal orientations will produce higher precision.
Design tips
- At least 1 bar connecting the two sides of the arch is necessary to prevent warping of the model. This is especially true for Lower Dentures.
- Always use the appropriate design settings, which can be found here >
DentaTRAY
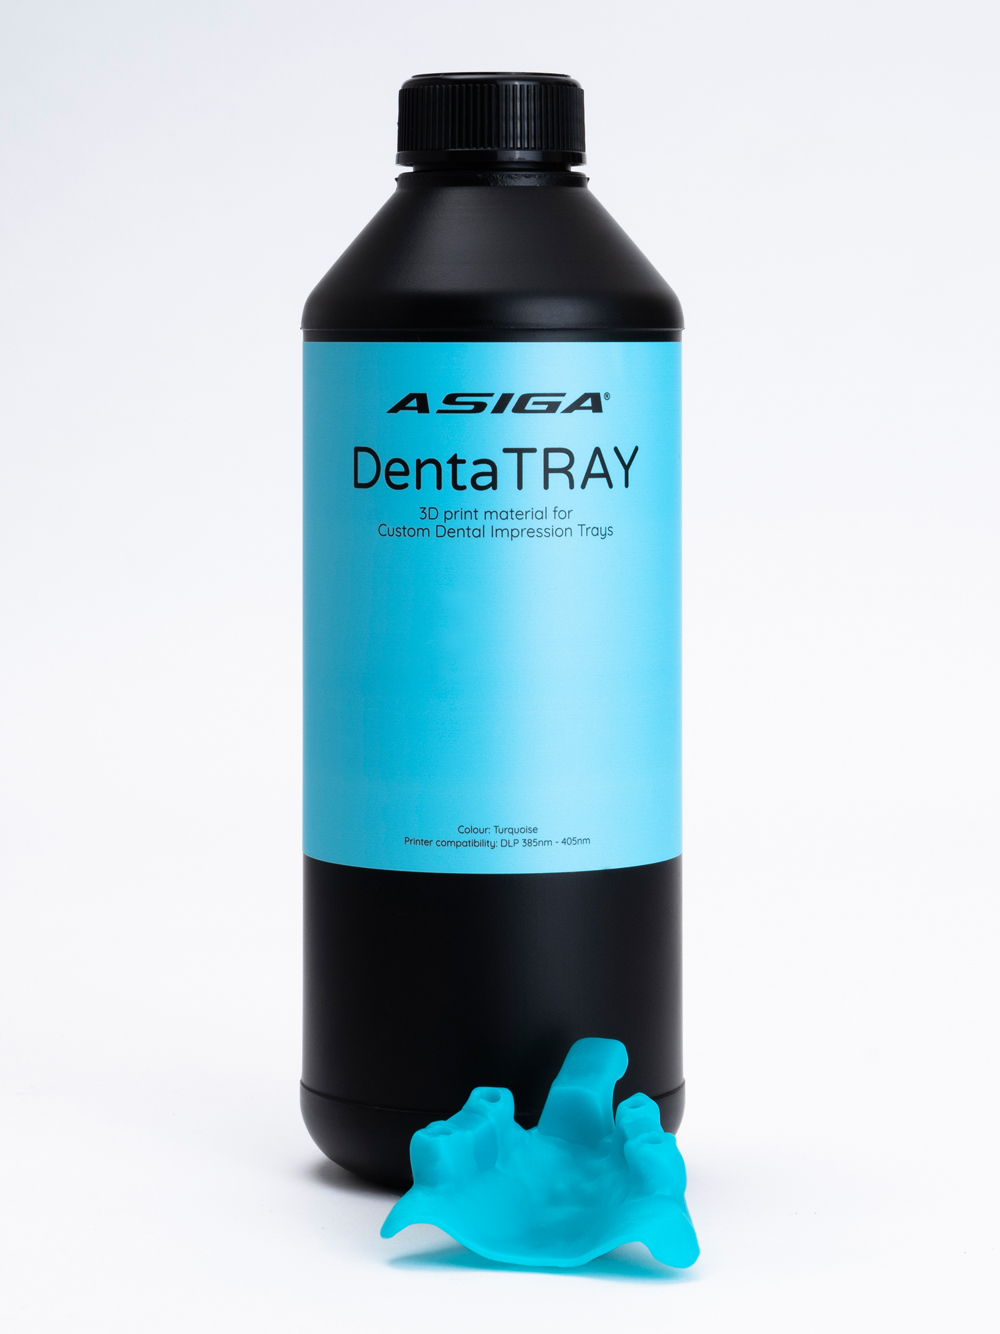
Take the perfect impression with Asiga DentaTRAY. Asiga DentaTRAY is an accurate, rigid and stable 3D printing material to aid the reproduction of a patient’s anatomy.
Compatible with all types of impression materials, Asiga DentaTRAY provides a precise and fast solution for complex cases.
| Indication list | Recommended slice thickness | Recommended part orientation |
|---|---|---|
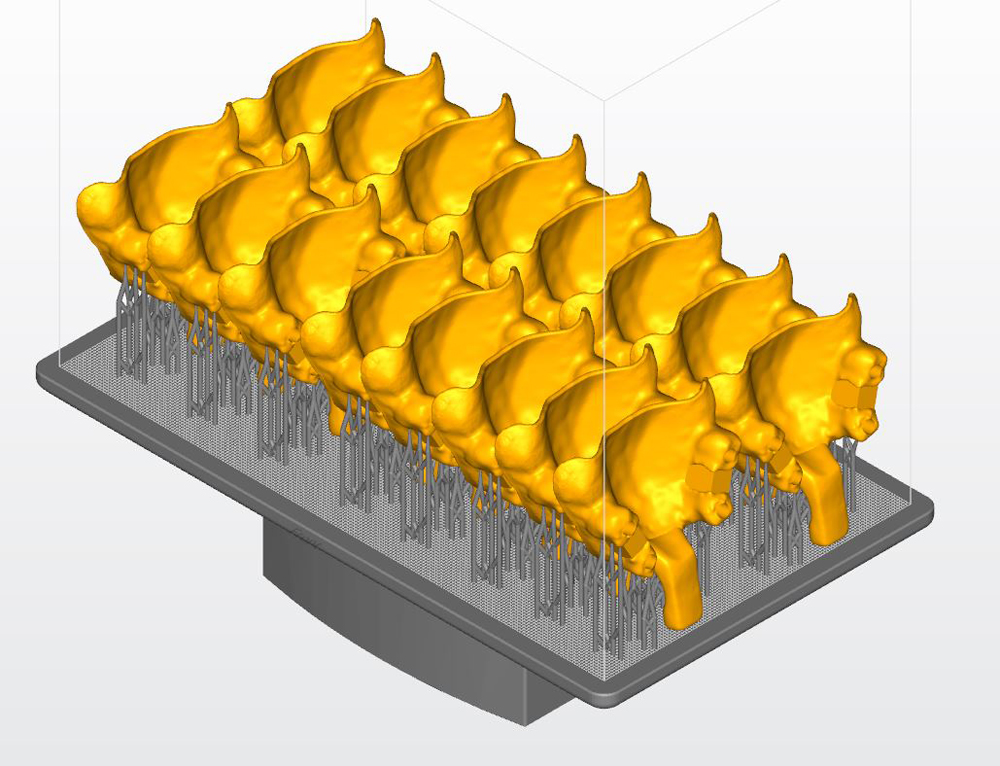
| Custom Impression Trays | 100-150 µm. | Custom Impression Trays should be oriented so that the intaglio surface of the tray is facing away from the build platform. Angulation of the custom tray is not crucial. |
Part Orientation
Part orientation will determine how many parts you can get on a single build.
More importantly it will also be a factor in achieving the highest accuracy.
Horizontal orientations will produce higher precision.
Design tips
- Always use the appropriate design settings, which can be found here >
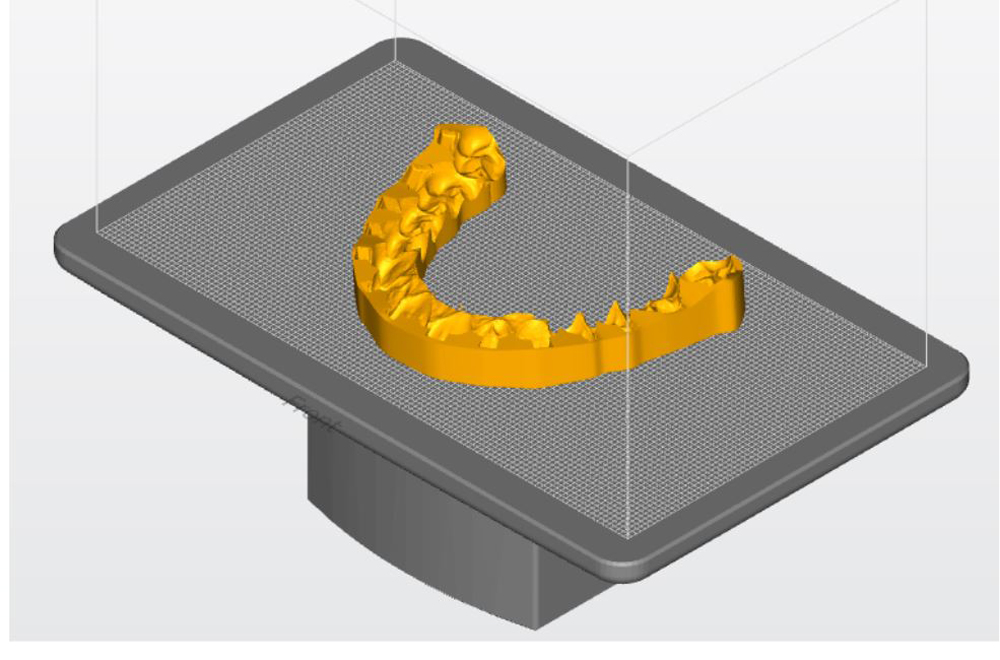
DentaIBT
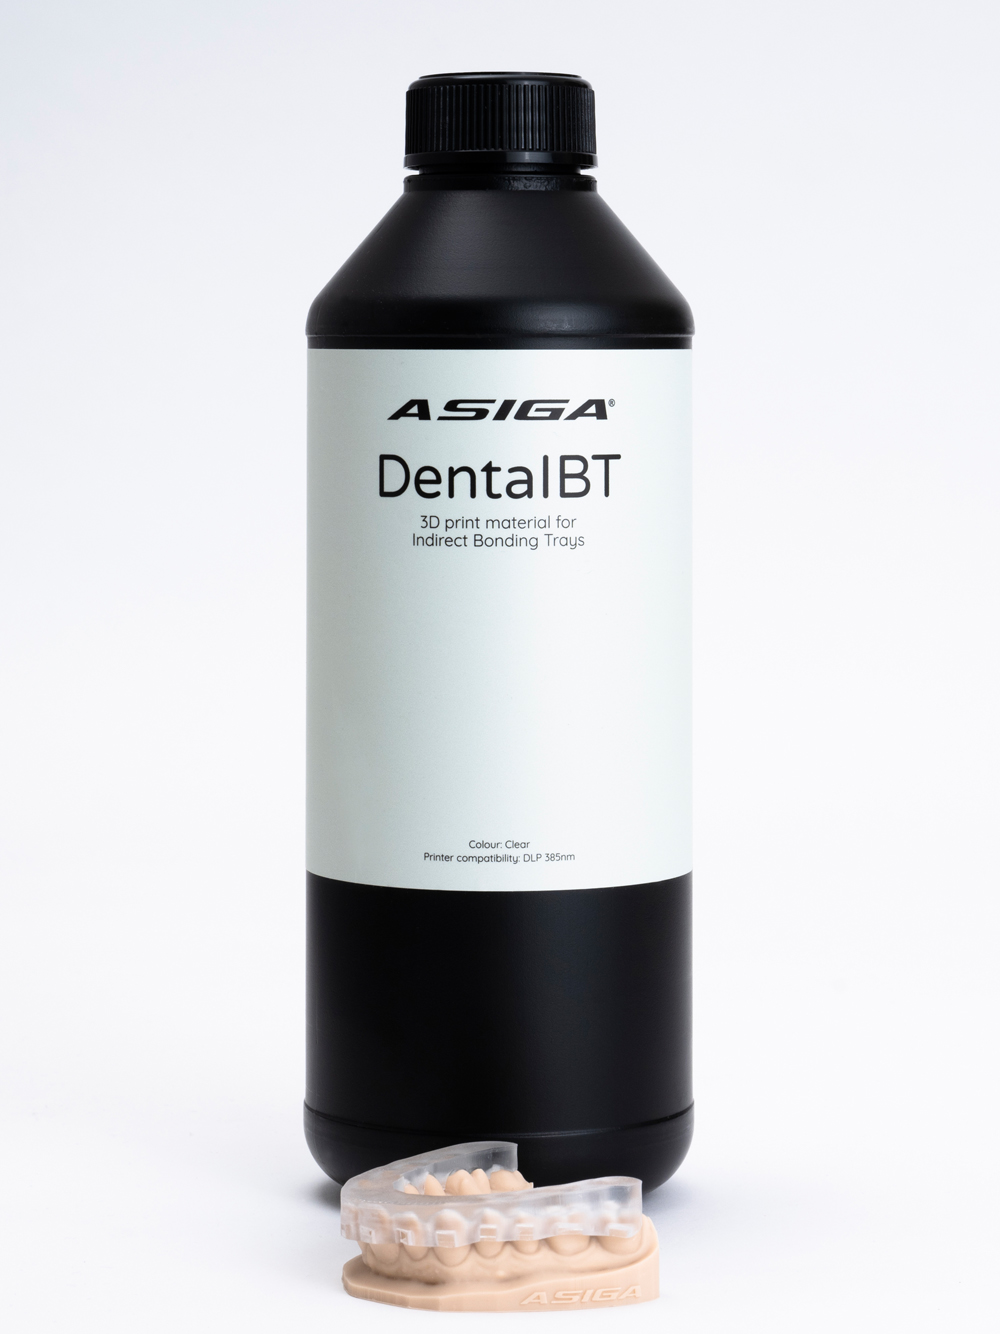
Asiga DentaIBT is a biocompatible material for manufacturing Indirect Bonding Trays. Indirect Bonding Trays are used to accurately position orthodontic brackets onto the patient’s teeth. DentaIBT is a clear material that allows UV transmission for curing the brackets in place.
The rubber-like characteristic of Asiga DentaIBT provide a firm hold during the bonding process and then flexibility when peeling away, without tearing or discomfort to the patient.
| Indication list | Recommended layer thickness | Recommended part orientation |
|---|---|---|
| Indirect Bonding Trays | 100 µm | Horizontal: Indirect bonding trays should be oriented so that they are horizontal touching the build platform on a flat plain. |
Part Orientation
Part orientation will determine how many parts you can get on a single build.
More importantly it will also be a factor in achieving the highest accuracy.
Horizontal orientations will produce higher precision.
Design tips
- When designing, it is best to have a flat plain so the part can sit directly on the build platform.
- Always use the appropriate design settings, which can be found here >
DentaGUM
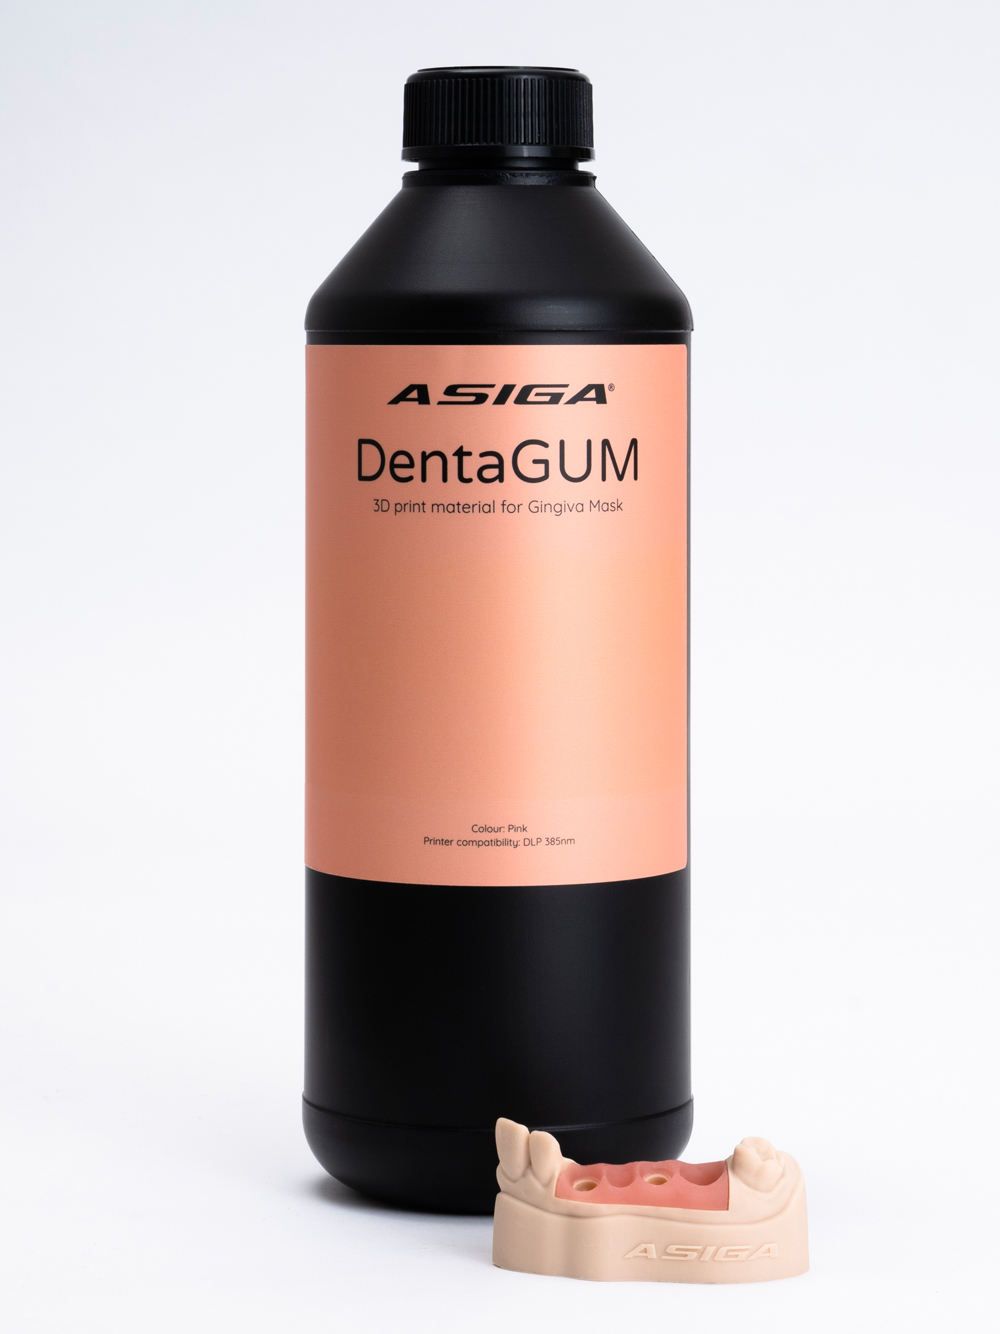
Asiga’s DentaGUM is a flexible pink material developed to replicate the patient’s gingiva and an essential component when producing a dental implant case. Asiga DentaGUM offers excellent accuracy and rebound.
Whether you are placing an implant and need to see tissue compression or would like a more realistic / complete model, Asiga’s DentaGUM is your solution.
| Indication list | Recommended slice thickness | Recommended part orientation |
|---|---|---|
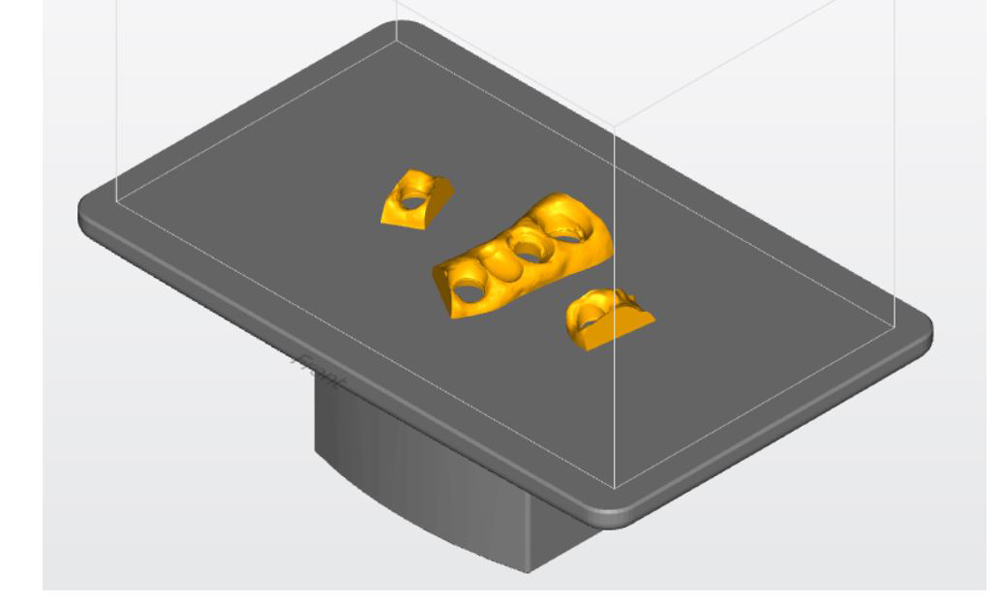
| Gingiva Mask | 100-150 µm | Horizontal: Gingiva Masks should be oriented so that they are horizontal touching the build platform on a flat plain. |
Part Orientation
Part orientation will determine how many parts you can get on a single build.
More importantly it will also be a factor in achieving the highest accuracy.
Horizontal orientations will produce higher precision.
Design tips
- When designing, it is best to have a flat plain so the part can sit directly on the build platform.
- Always use the appropriate design settings, which can be found here >
