asiga-logo-max

Starting a print

Install Composer

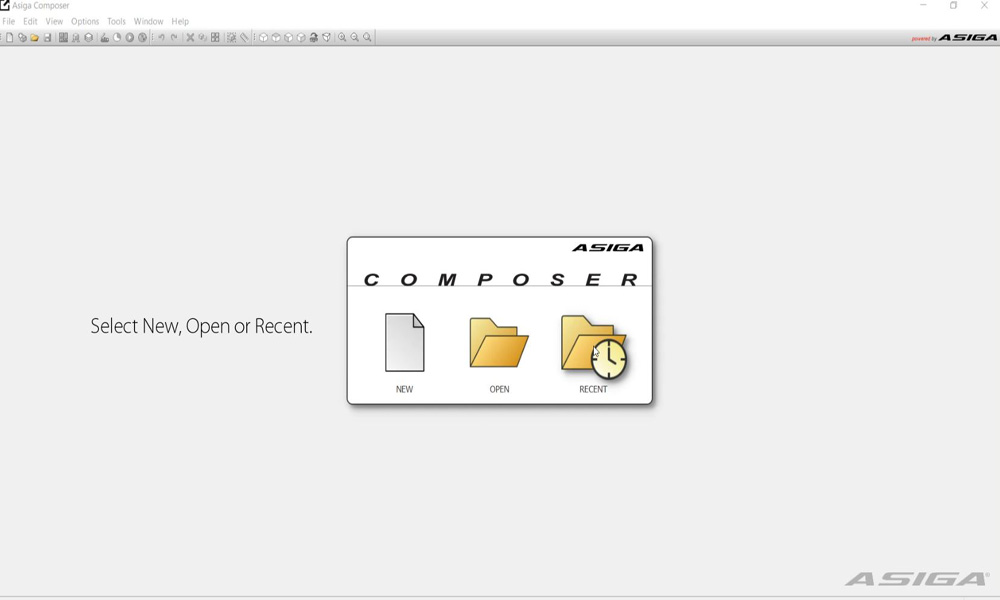
Composer is the bridge between design software & Asiga 3D printers.
Use Composer to prepare parts for 3D printing including nesting, scaling, positioning, supporting & more.

Composer is compatible with a range of file formats including:

System requirements

Operating System

Windows

Mac

Linux

Windows

Mac

Linux

Processer:

1.6 GHz multi-core

Memory:

2 GB

Graphics:

64 MB, OpenGL 2.0 or later

Mouse:

3 button with scroll wheel / trackpad

Setting up your first print in Composer

Watch the below video to learn about starting a new print in Composer.

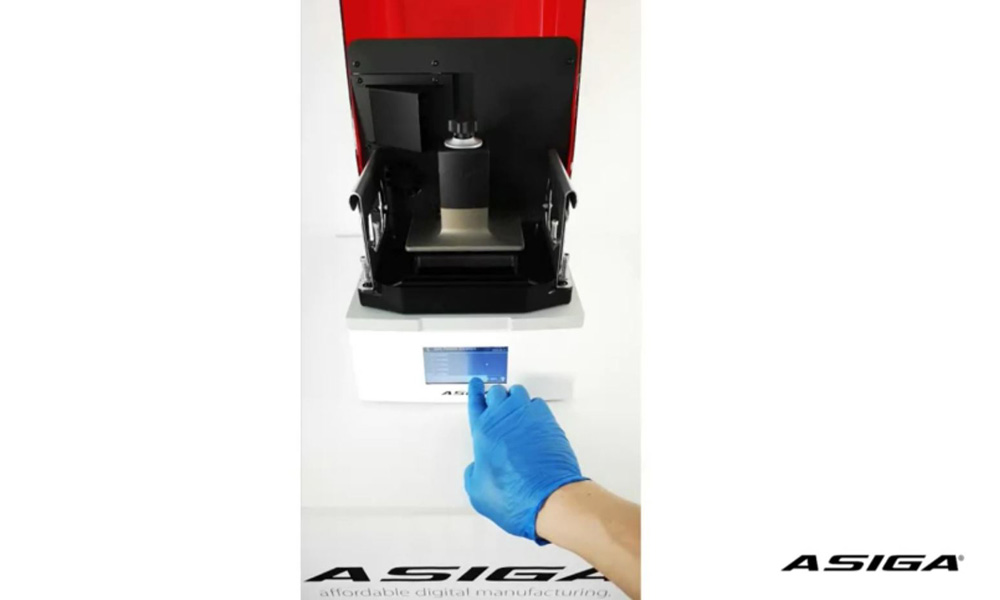
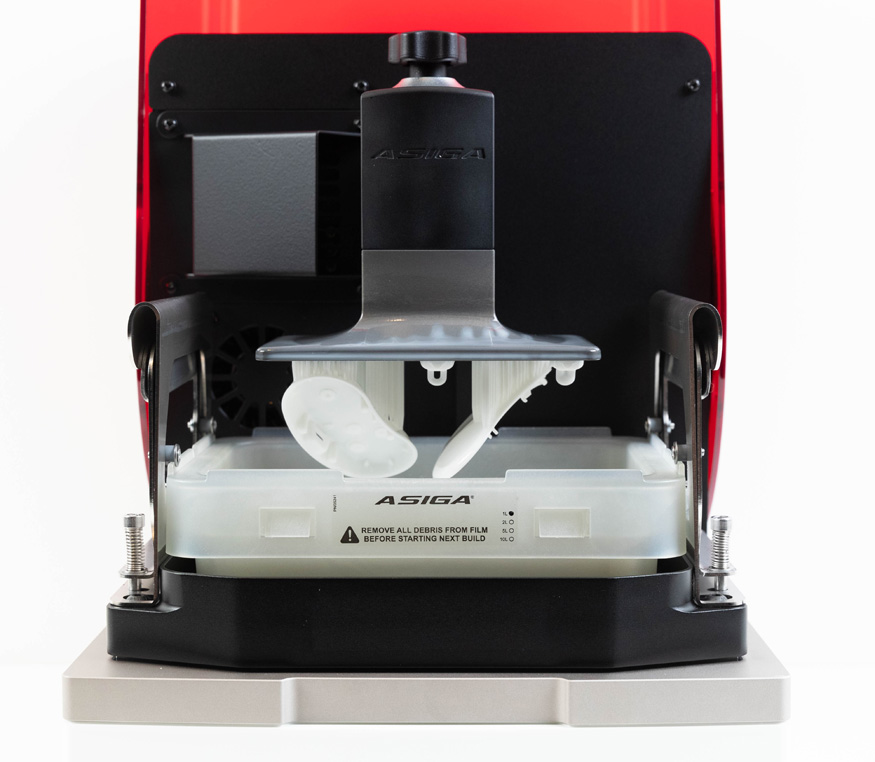
Before starting a new print ensure you have correctly set up your printer.
It is essential that your printer is correctly set up before starting a print to avoid failures.

Click here to learn how to set up the MAX.

Play Video

Access printer via web interface

The printer’s web interface allows you to interact with the printer from the comfort of your desk.

Learn more here >

Stirring material

A crucial step in starting a print is ensuring the material is stirred.
Pigments in resin will settle over time making this such an important step.

Play Video

Starting a print

When a build has been submitted to the printer, follow the steps below to start a print.

To start a print from the web interface  click here >

On the printer Main Menu

  • Select Print
Main-Menu-Print

Select one of the following options:

  • Next Build:
    lists the next build in the print queue.
  • Repeat Build:
    Allows you to repeat the previous print.
  • Select Build:
    Select from a list of all builds in the print queue.
 
If nothing is visible, check that Composer has correctly transferred the build.
Print Menu

Auto shutdown is an option that will turn the printer off when the print is finished.

Select Continue.

Print time

Confirm that your tray is filled with the correct material and select Yes.

Material selection

Removing a build

When the printer has finished a build, you can now start to post-process the parts.

Click here to learn more about removing parts & post processing.